

Terraform Basics commands - Getting started series (part 3)


Now, Terraform has a really simple syntax, and this makes it Easy to use
Let's talk about the four most used commands
terraform init
terraform validate
terraform apply
terraform destroy
Get Secret Key From AWS
Log in to the AWS console.
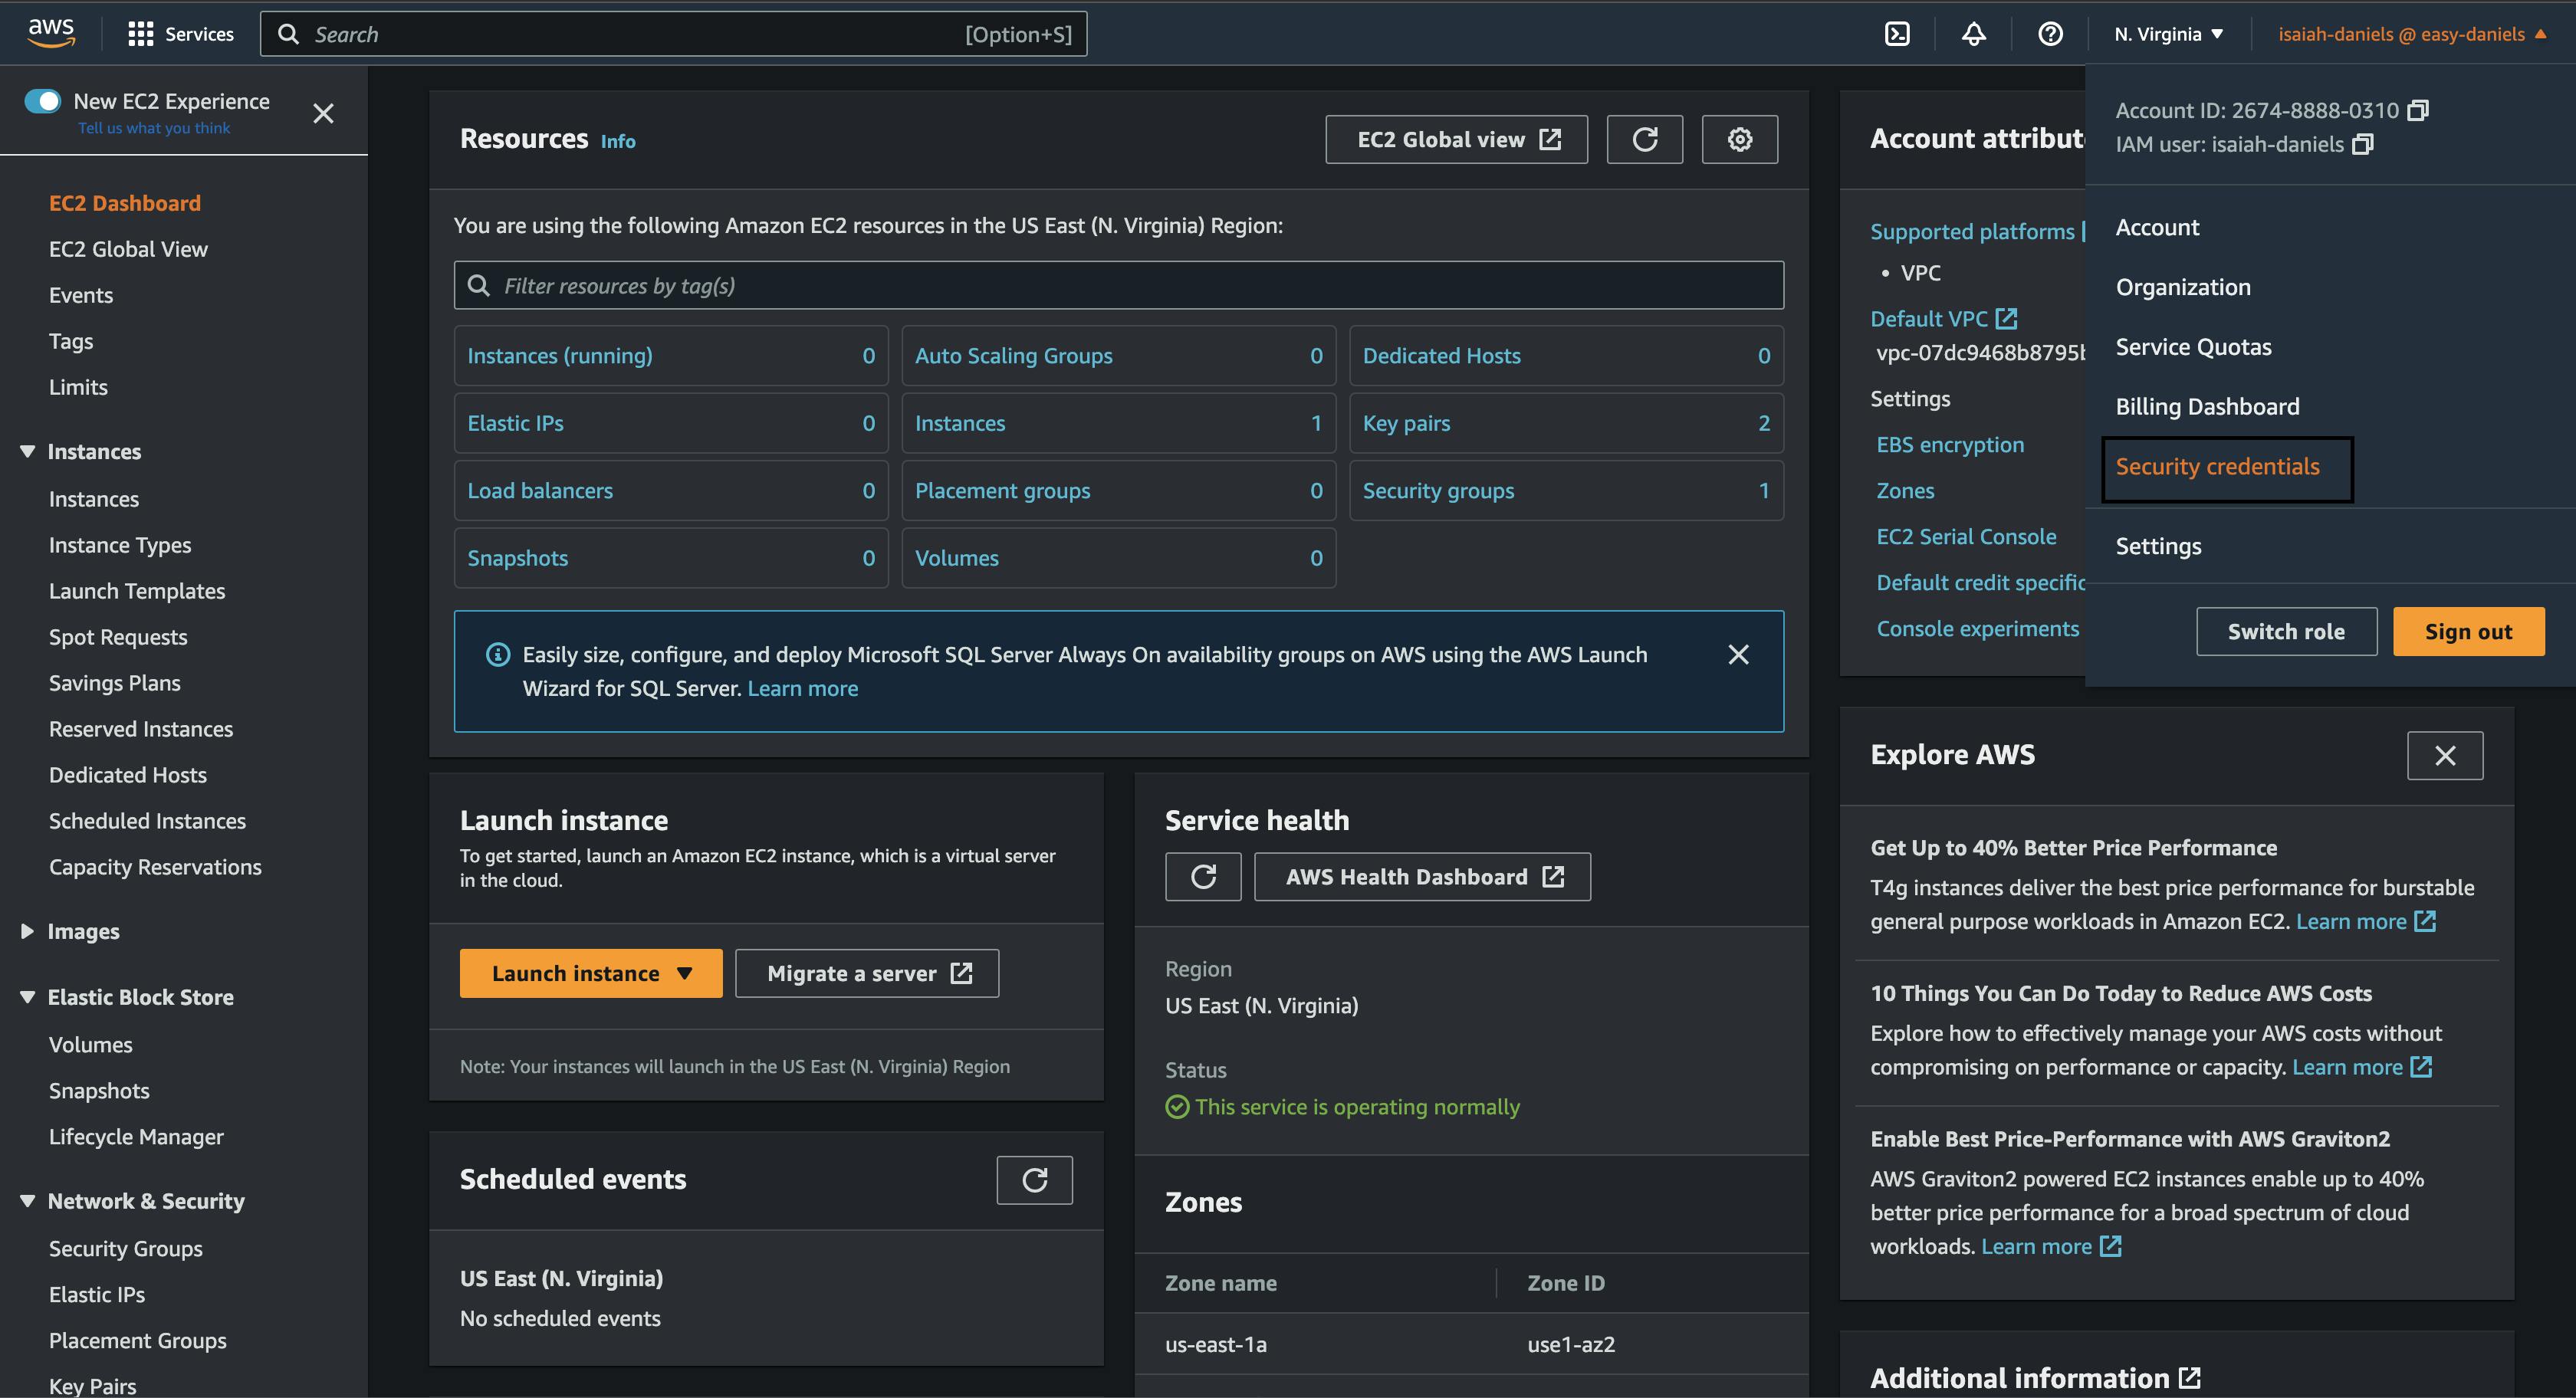
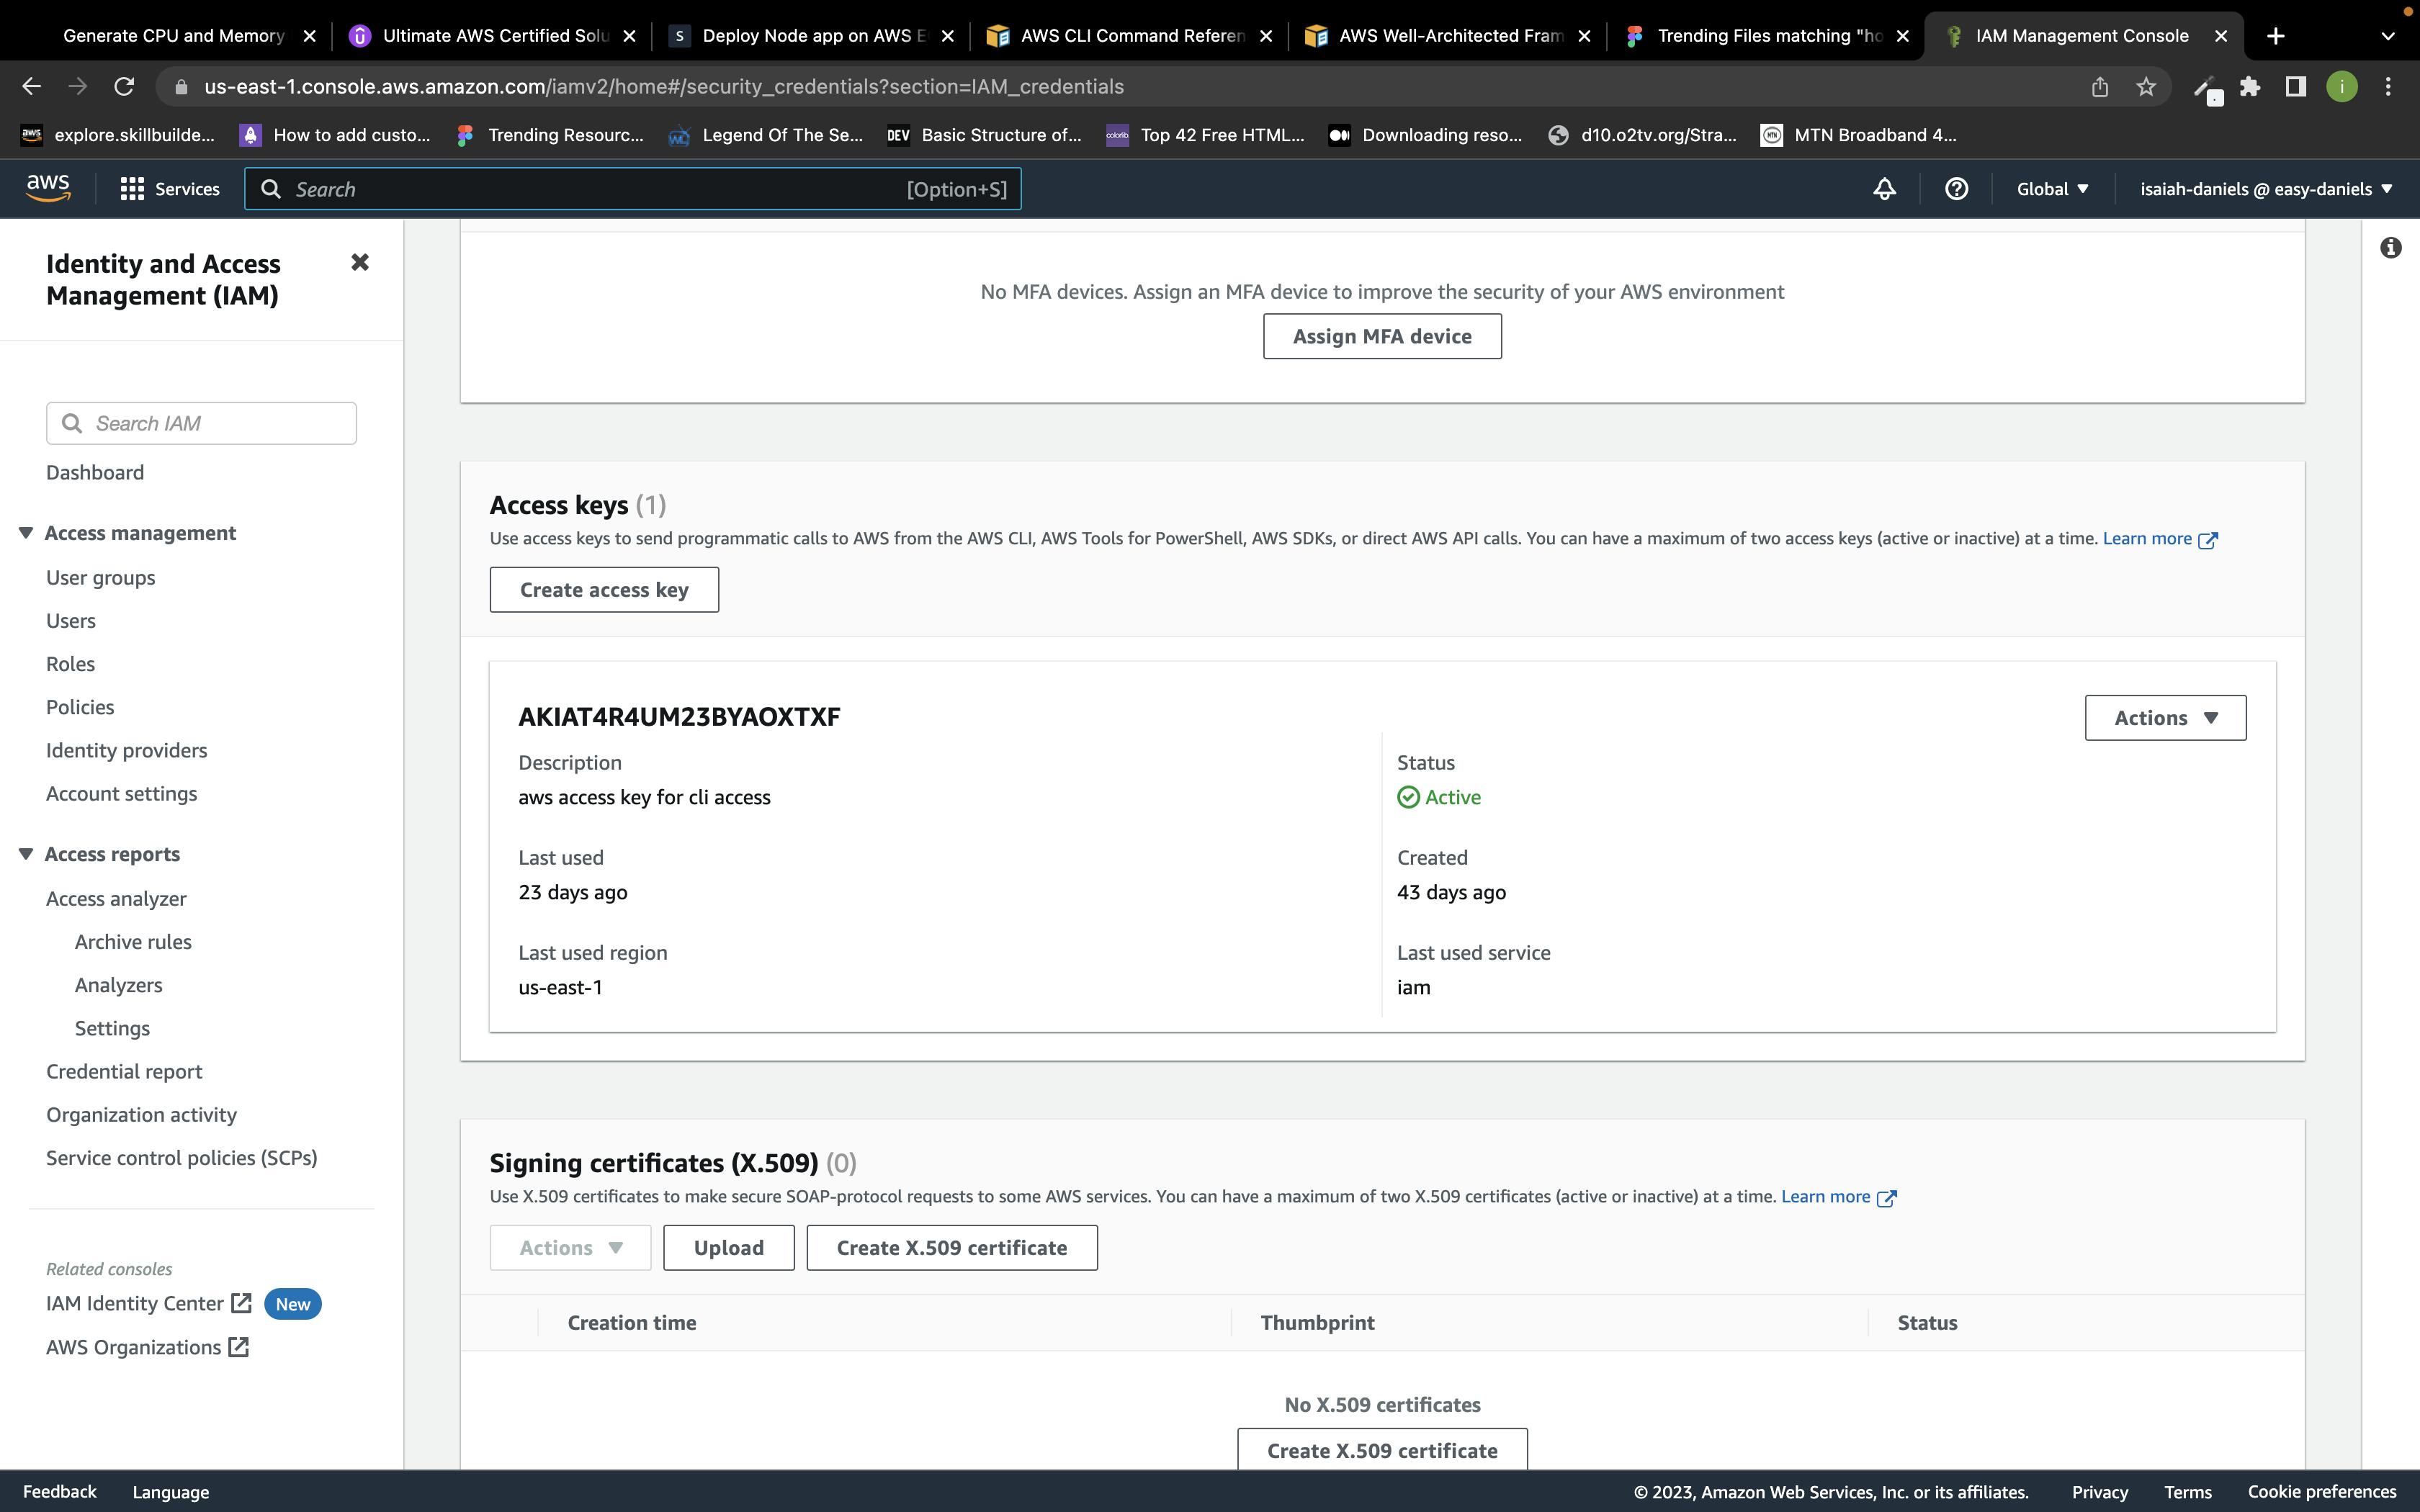
Click on create access key
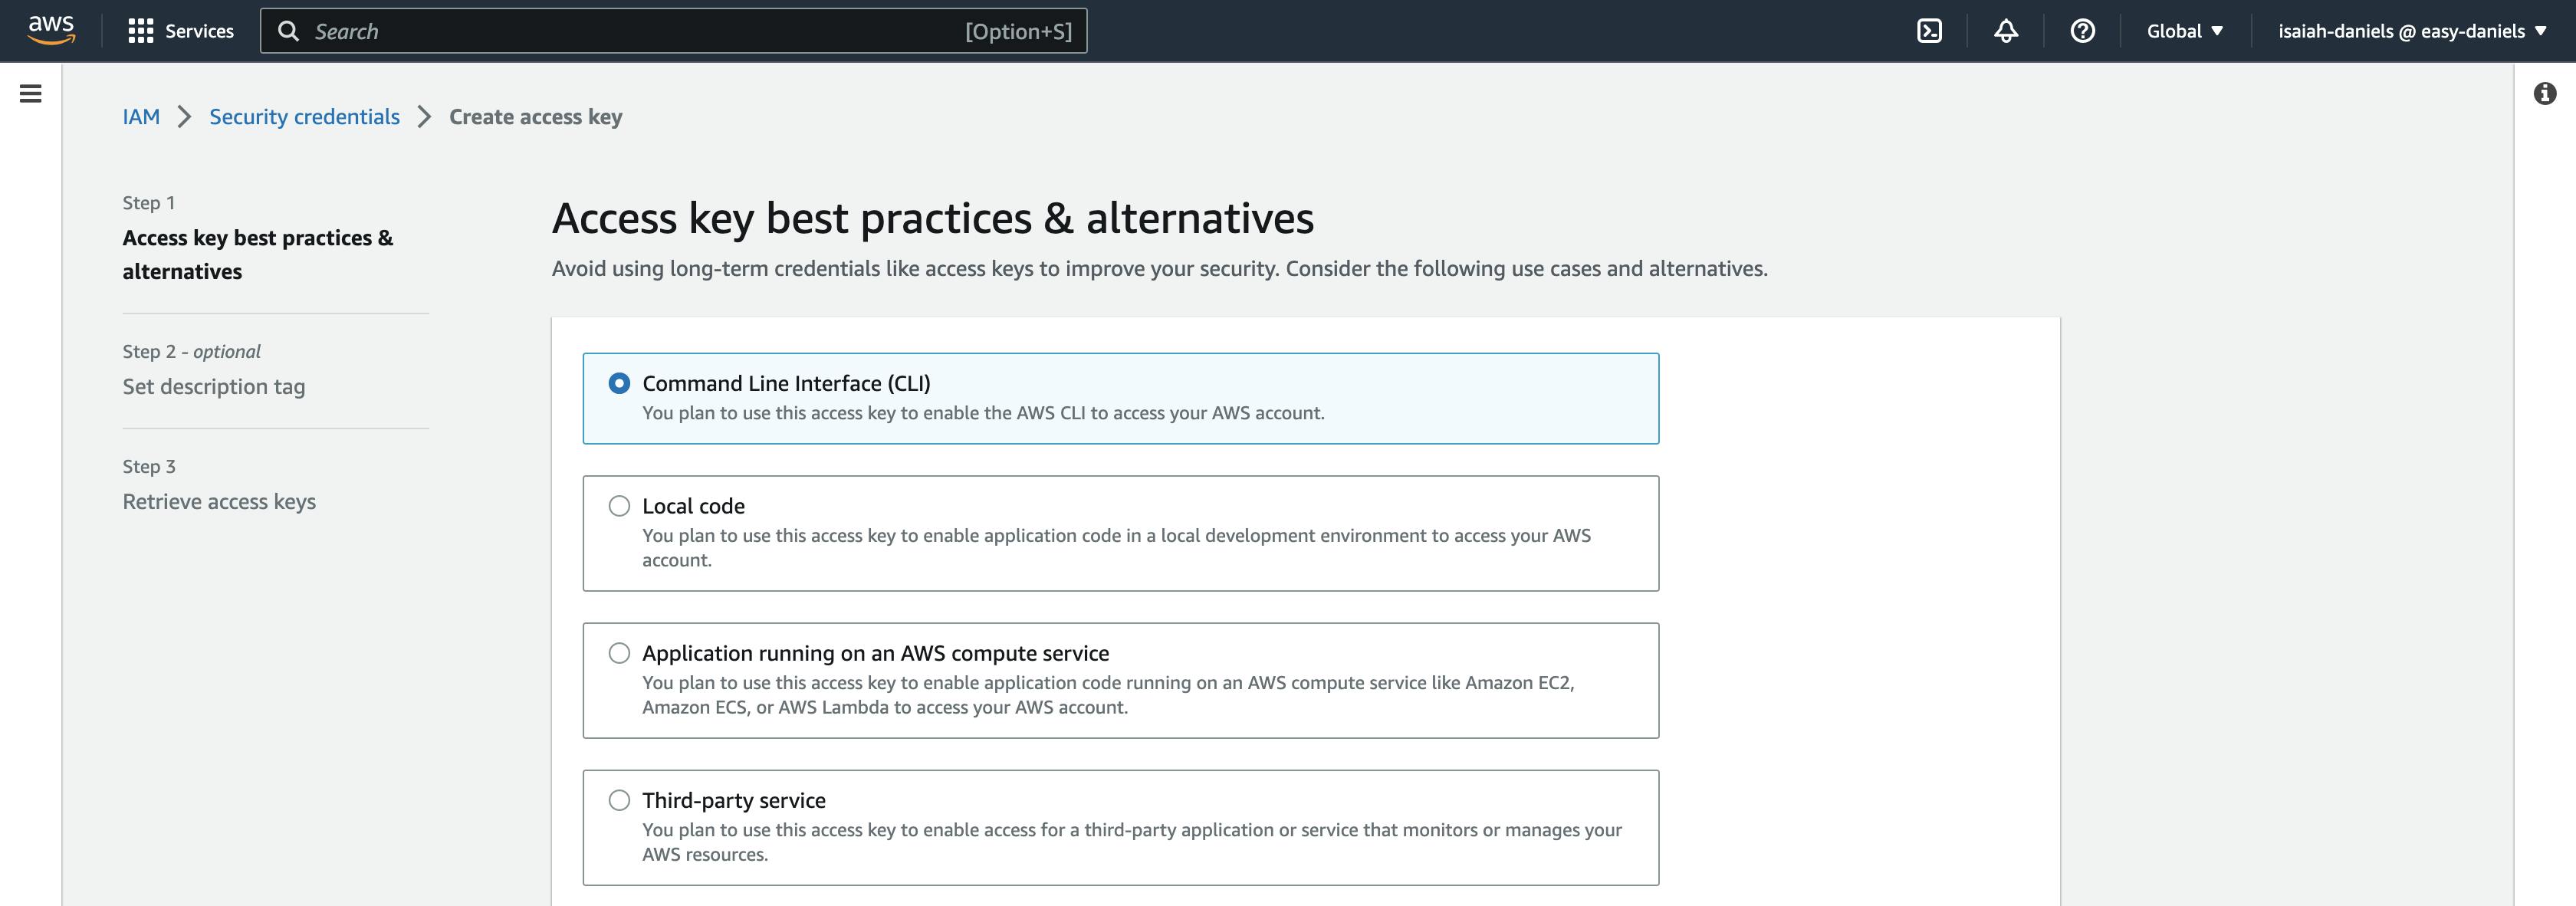
Check command line interface (CLI)

and check on the checkbox, and click on Next
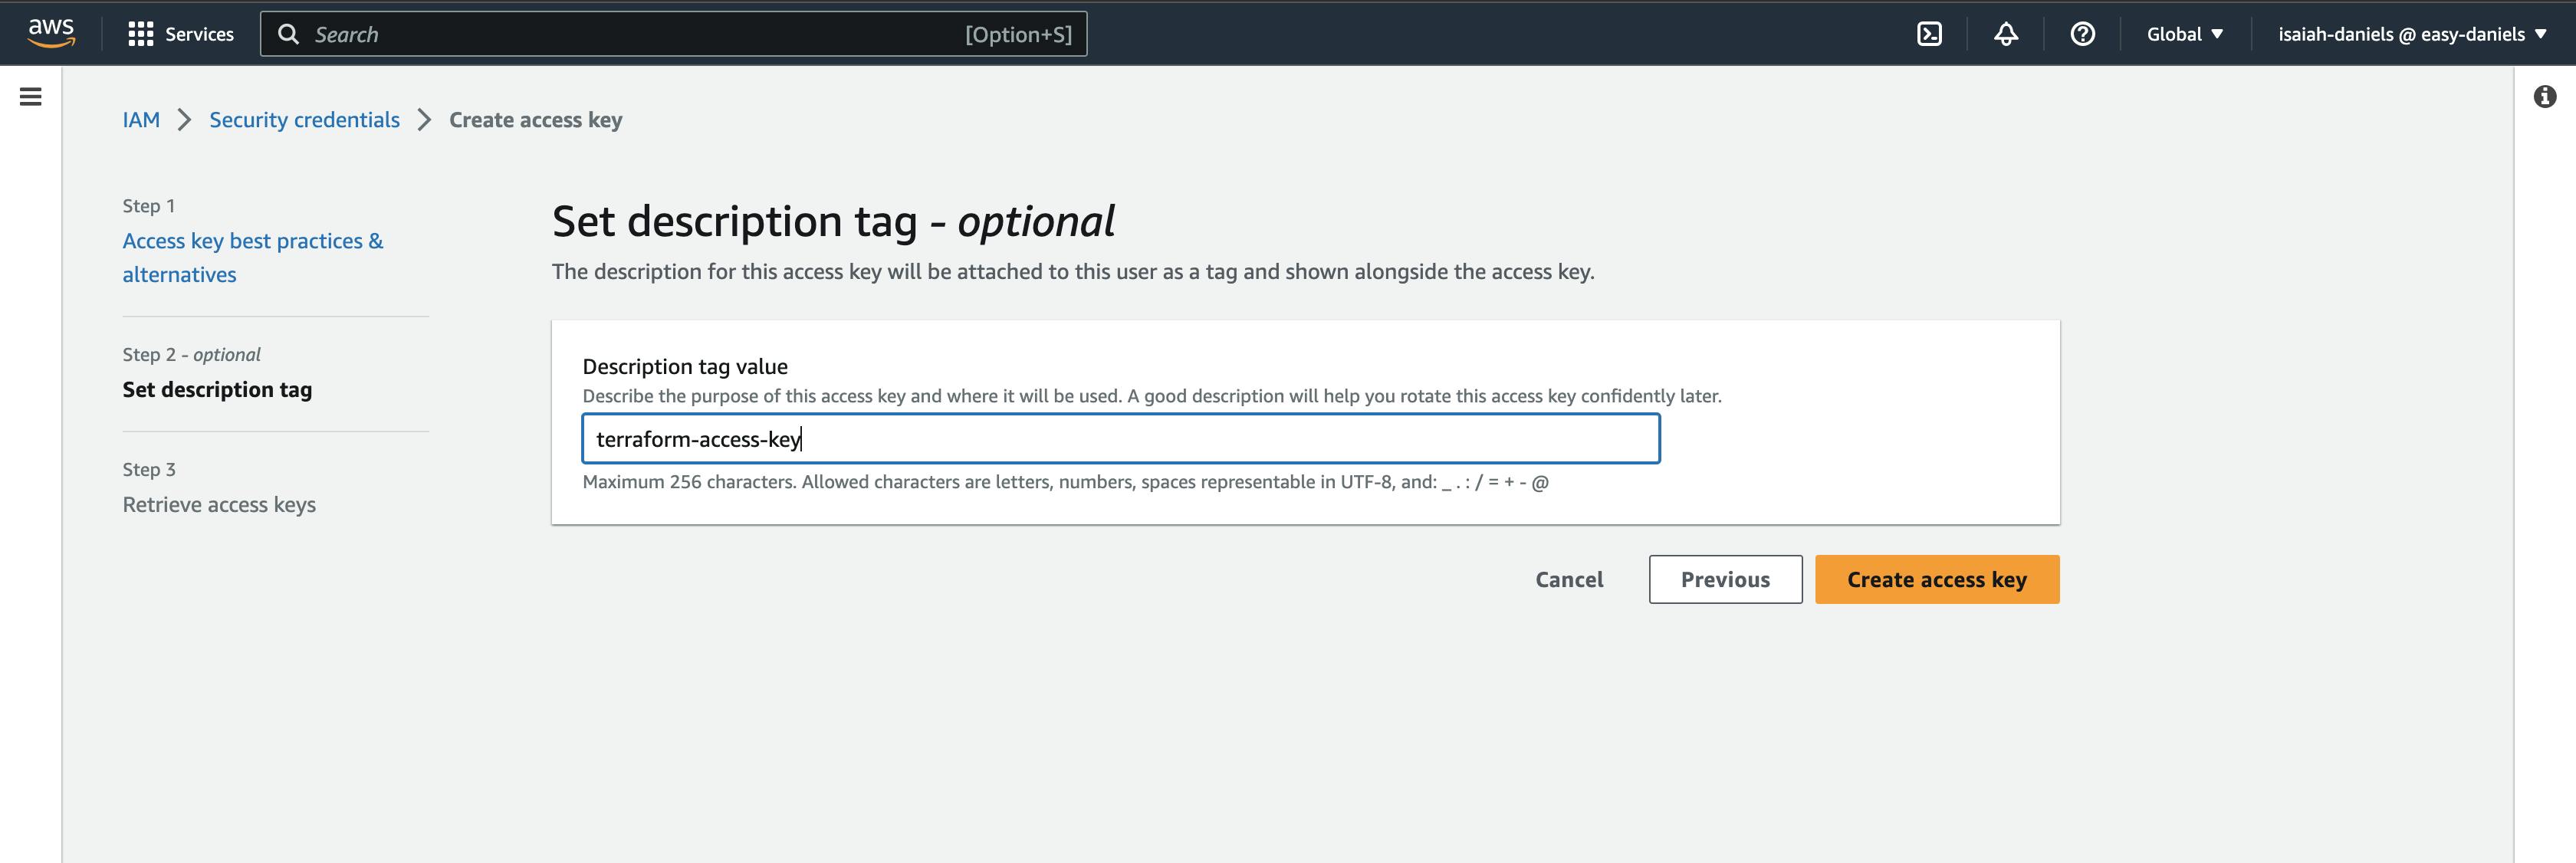
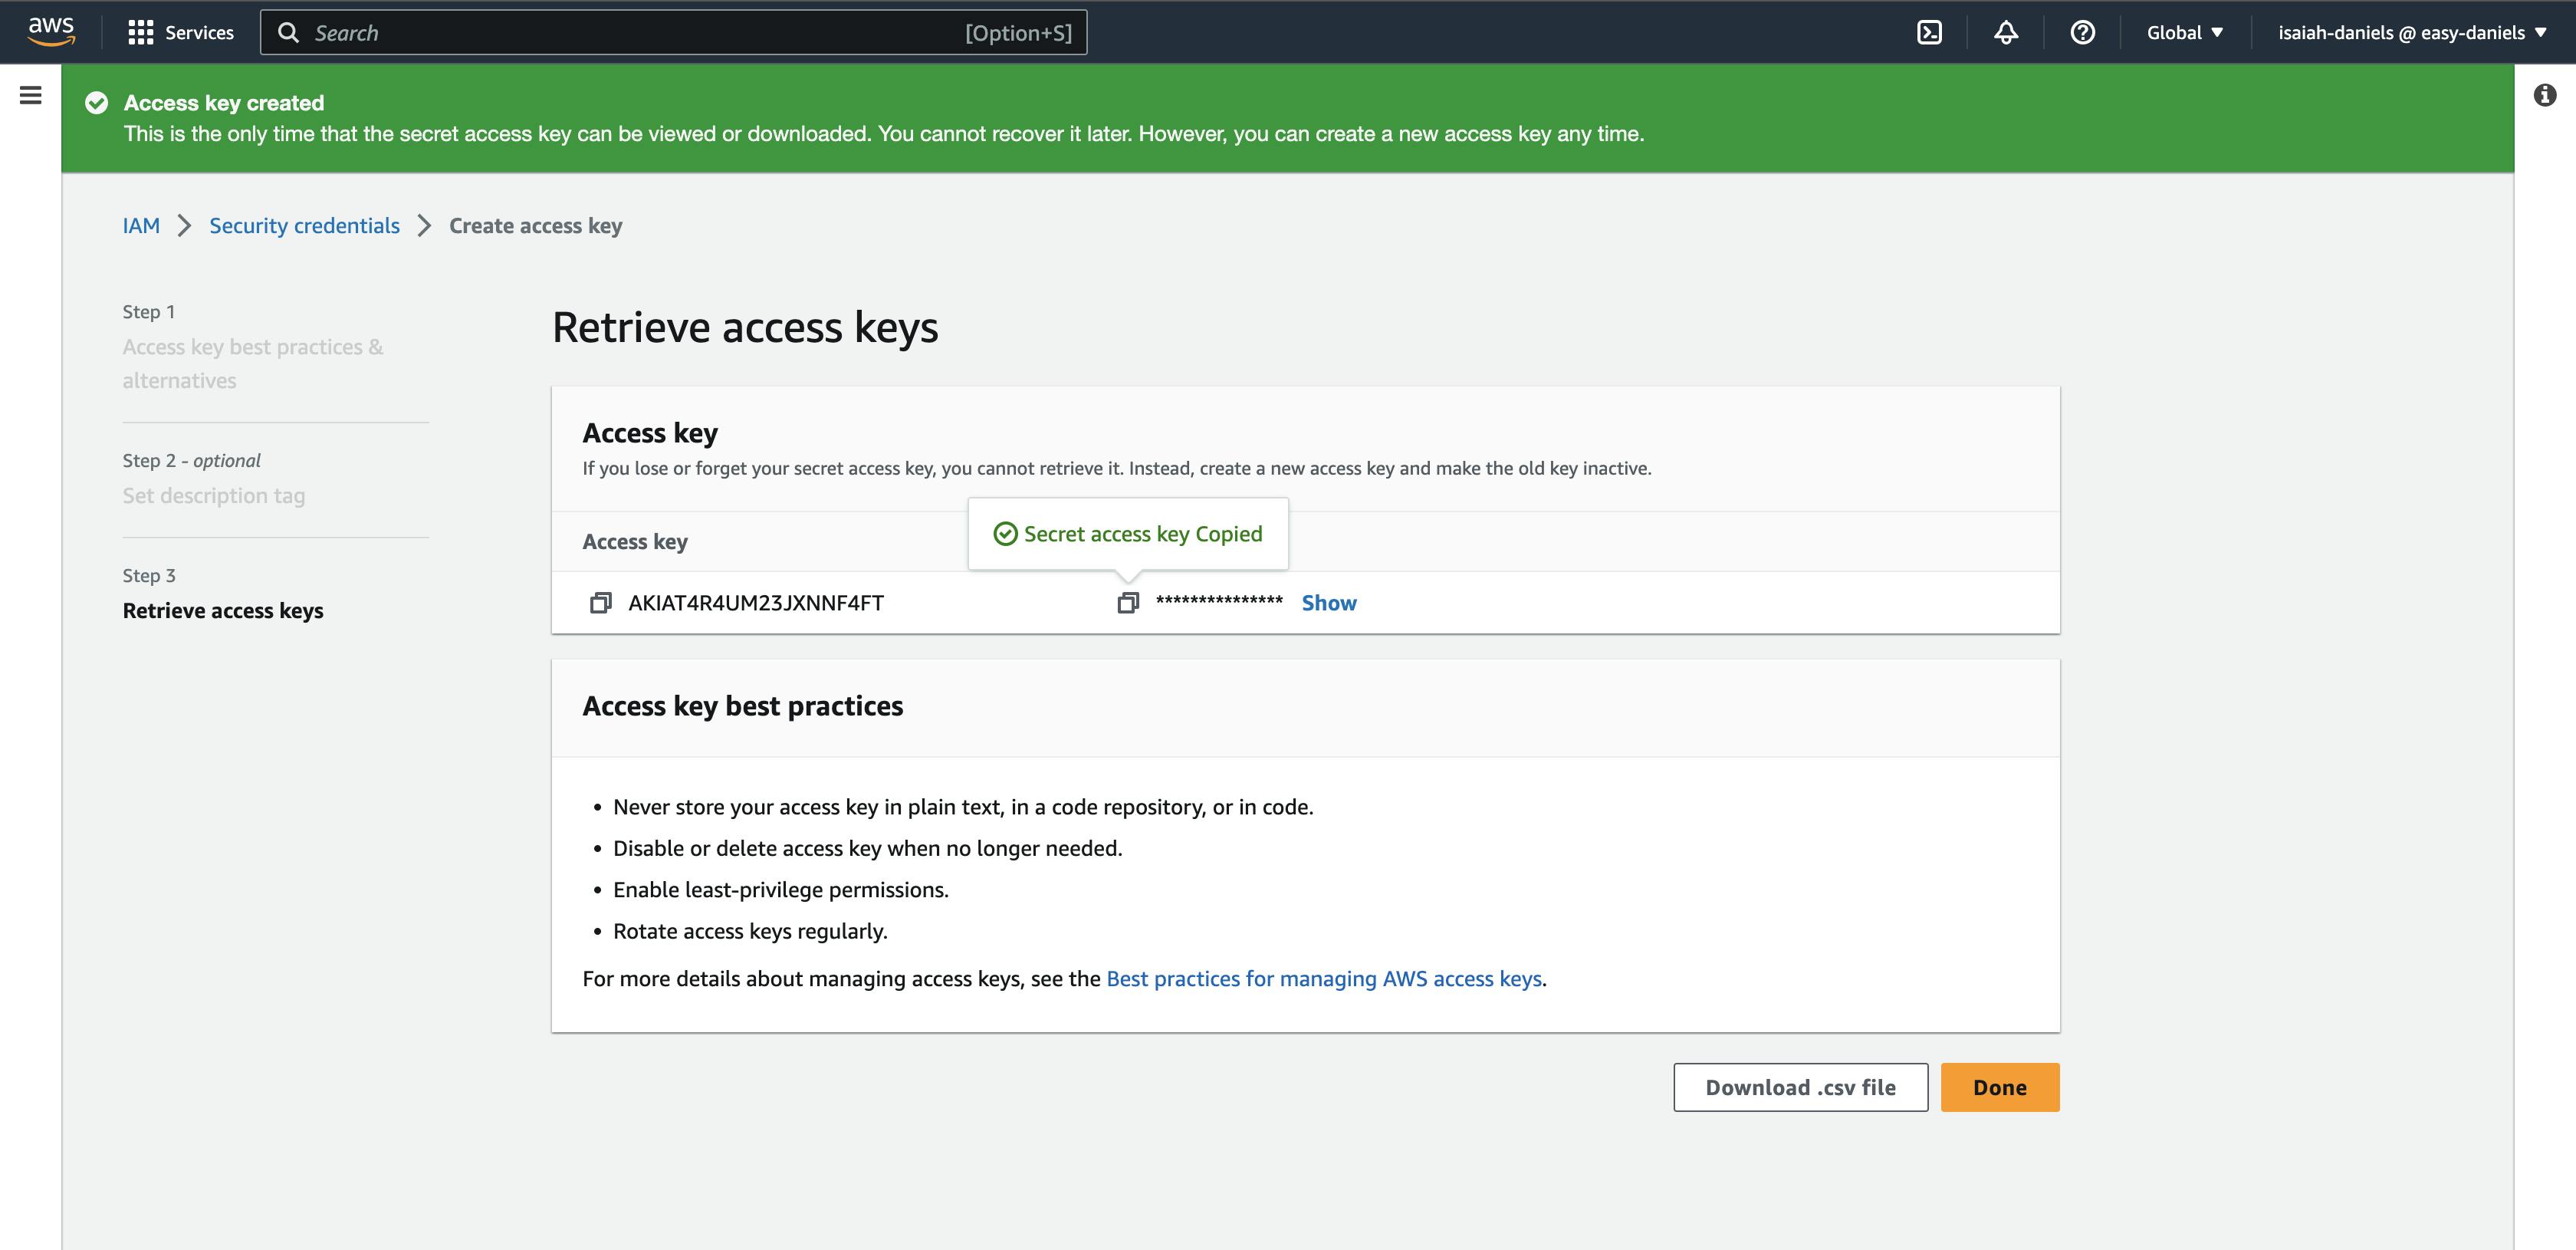
ill suggest downloading the .csv file, for save keeping
Note: Access keys and secret keys are very secret, please don't share them with the public
Note before starting
Please create a folder on your machine and open it with vs code (the code editor I will be using)
I created a folder called terraform and create a main.tf file
Terraform files have a .tf extension
Terraform Init
The first command is terraform init, this command initializes our terraform project and downloads the recommended provider, as we have discussed previously terraform works with a lot of popular providers, in this article we will be using AWS
'
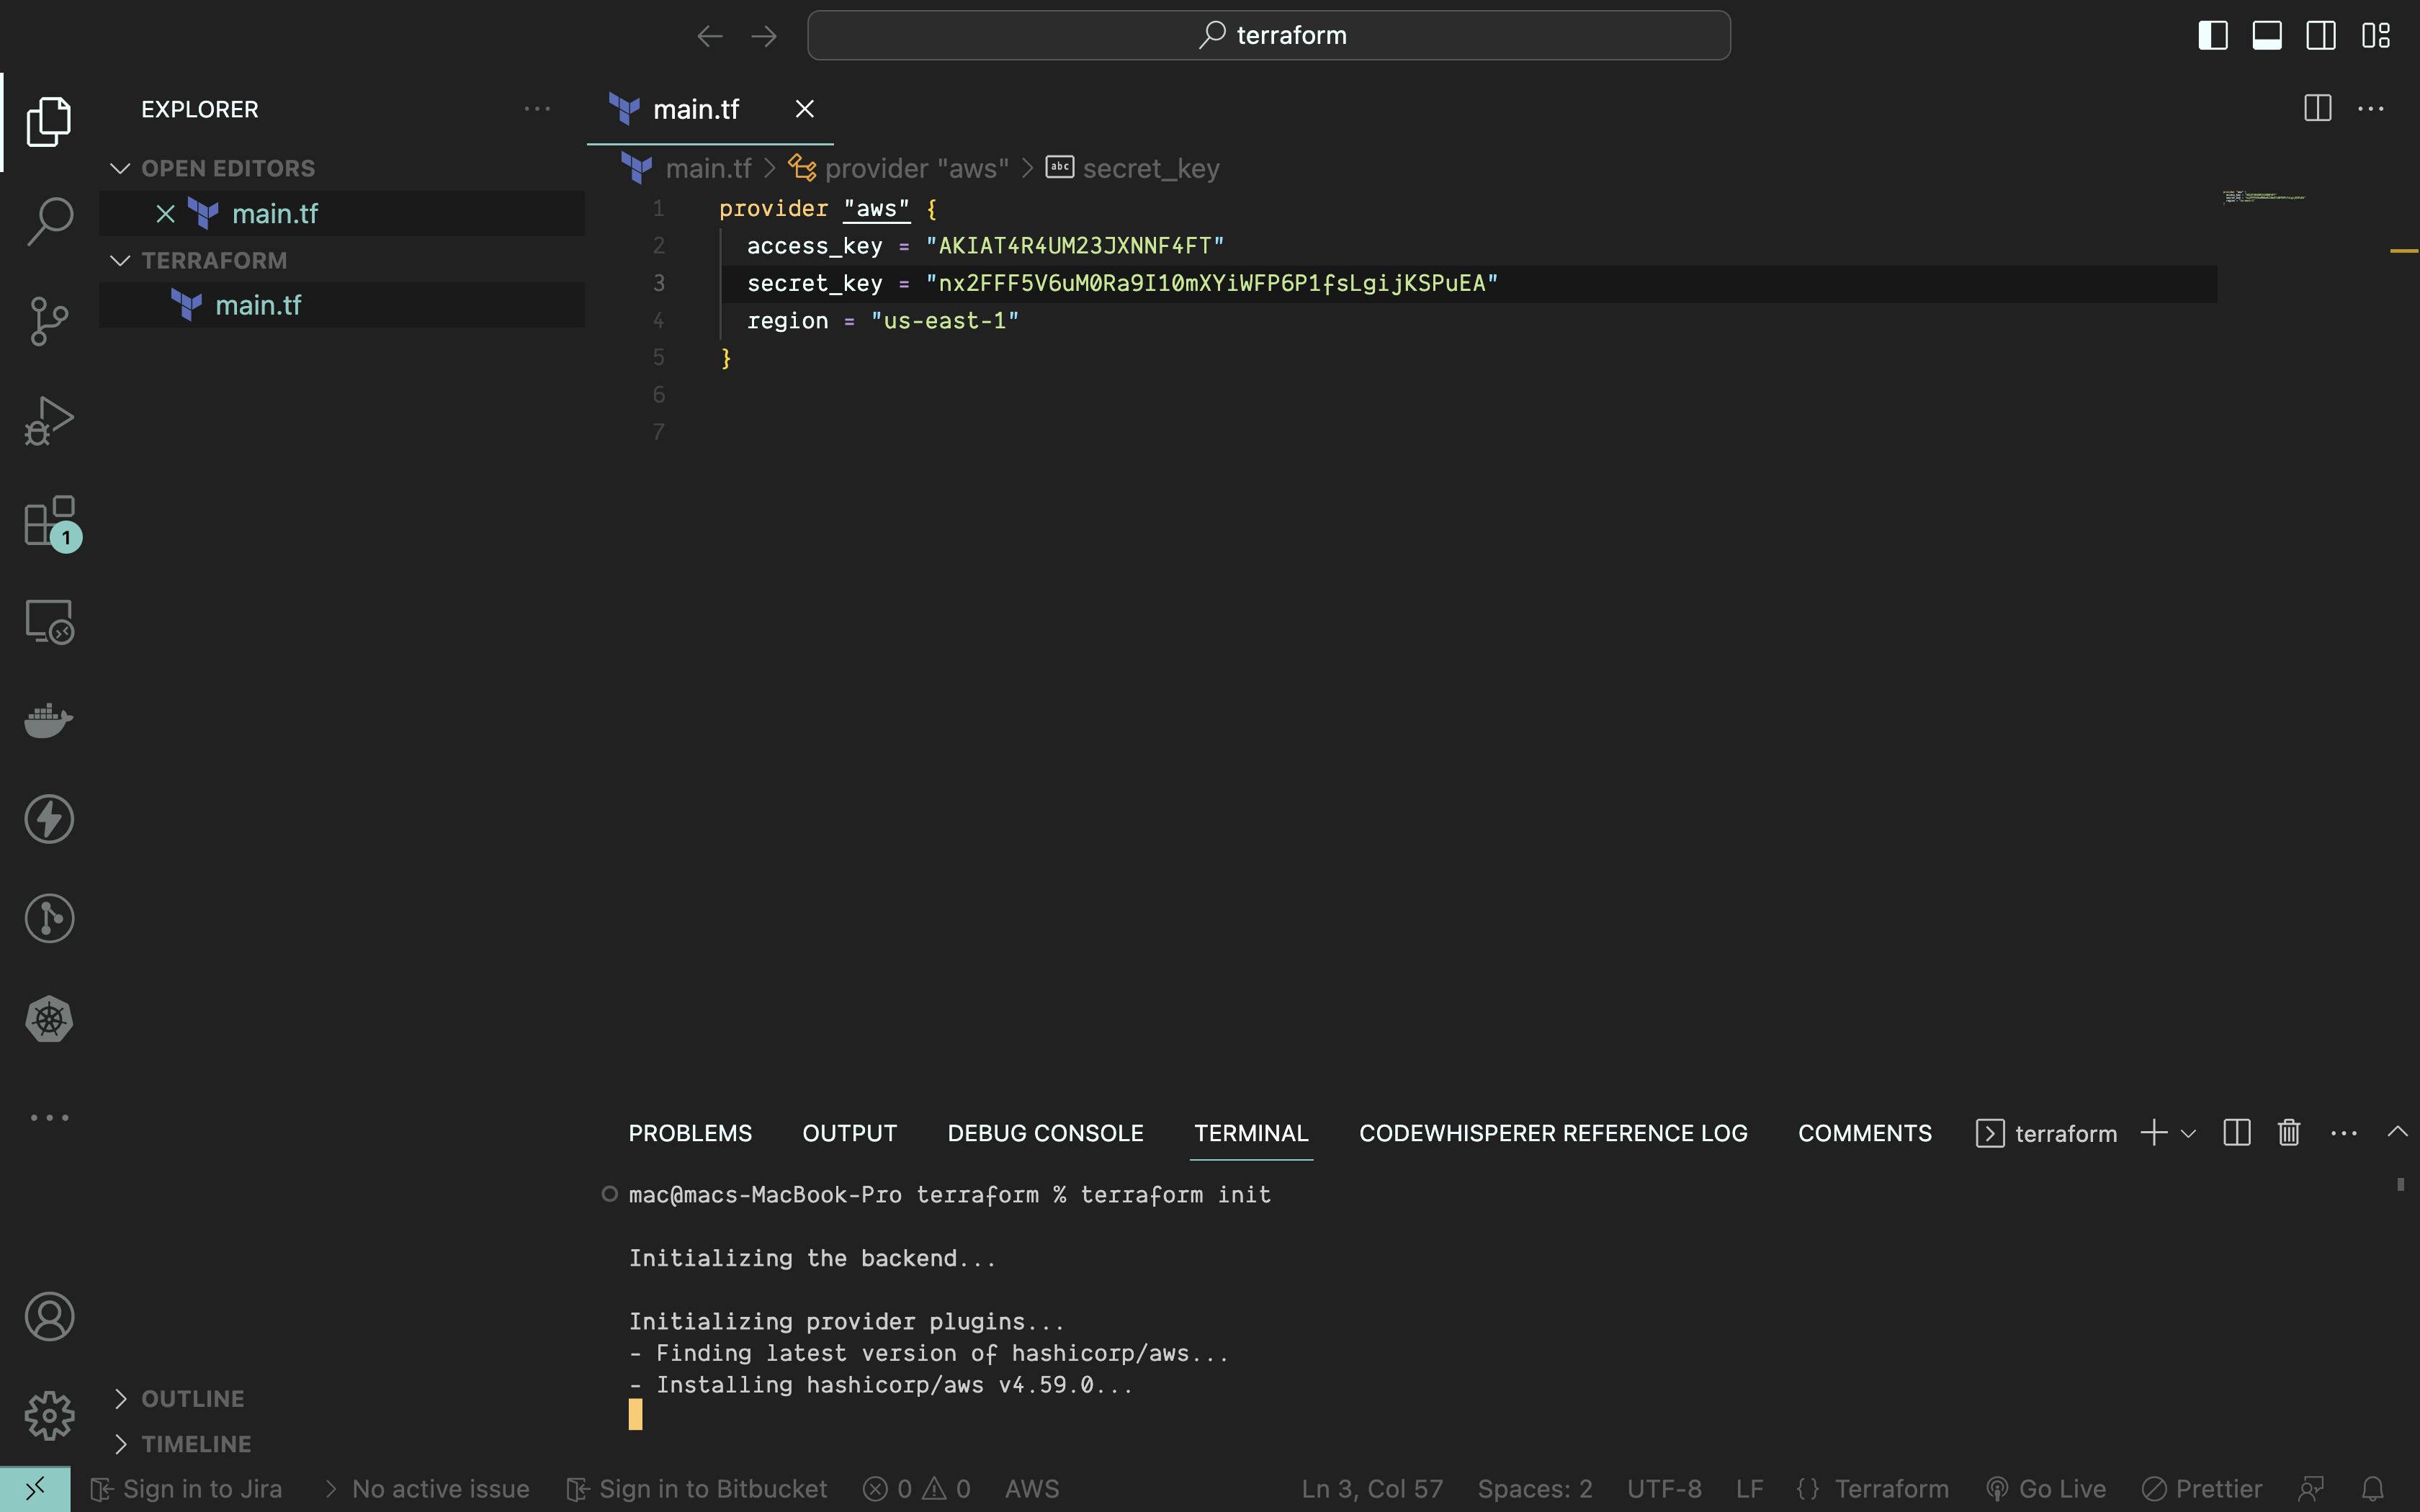
Here am using the provider block to initialize this project with aws, and am using the access_key and secret_key we generated previously to authenticate my self, to my AWS account
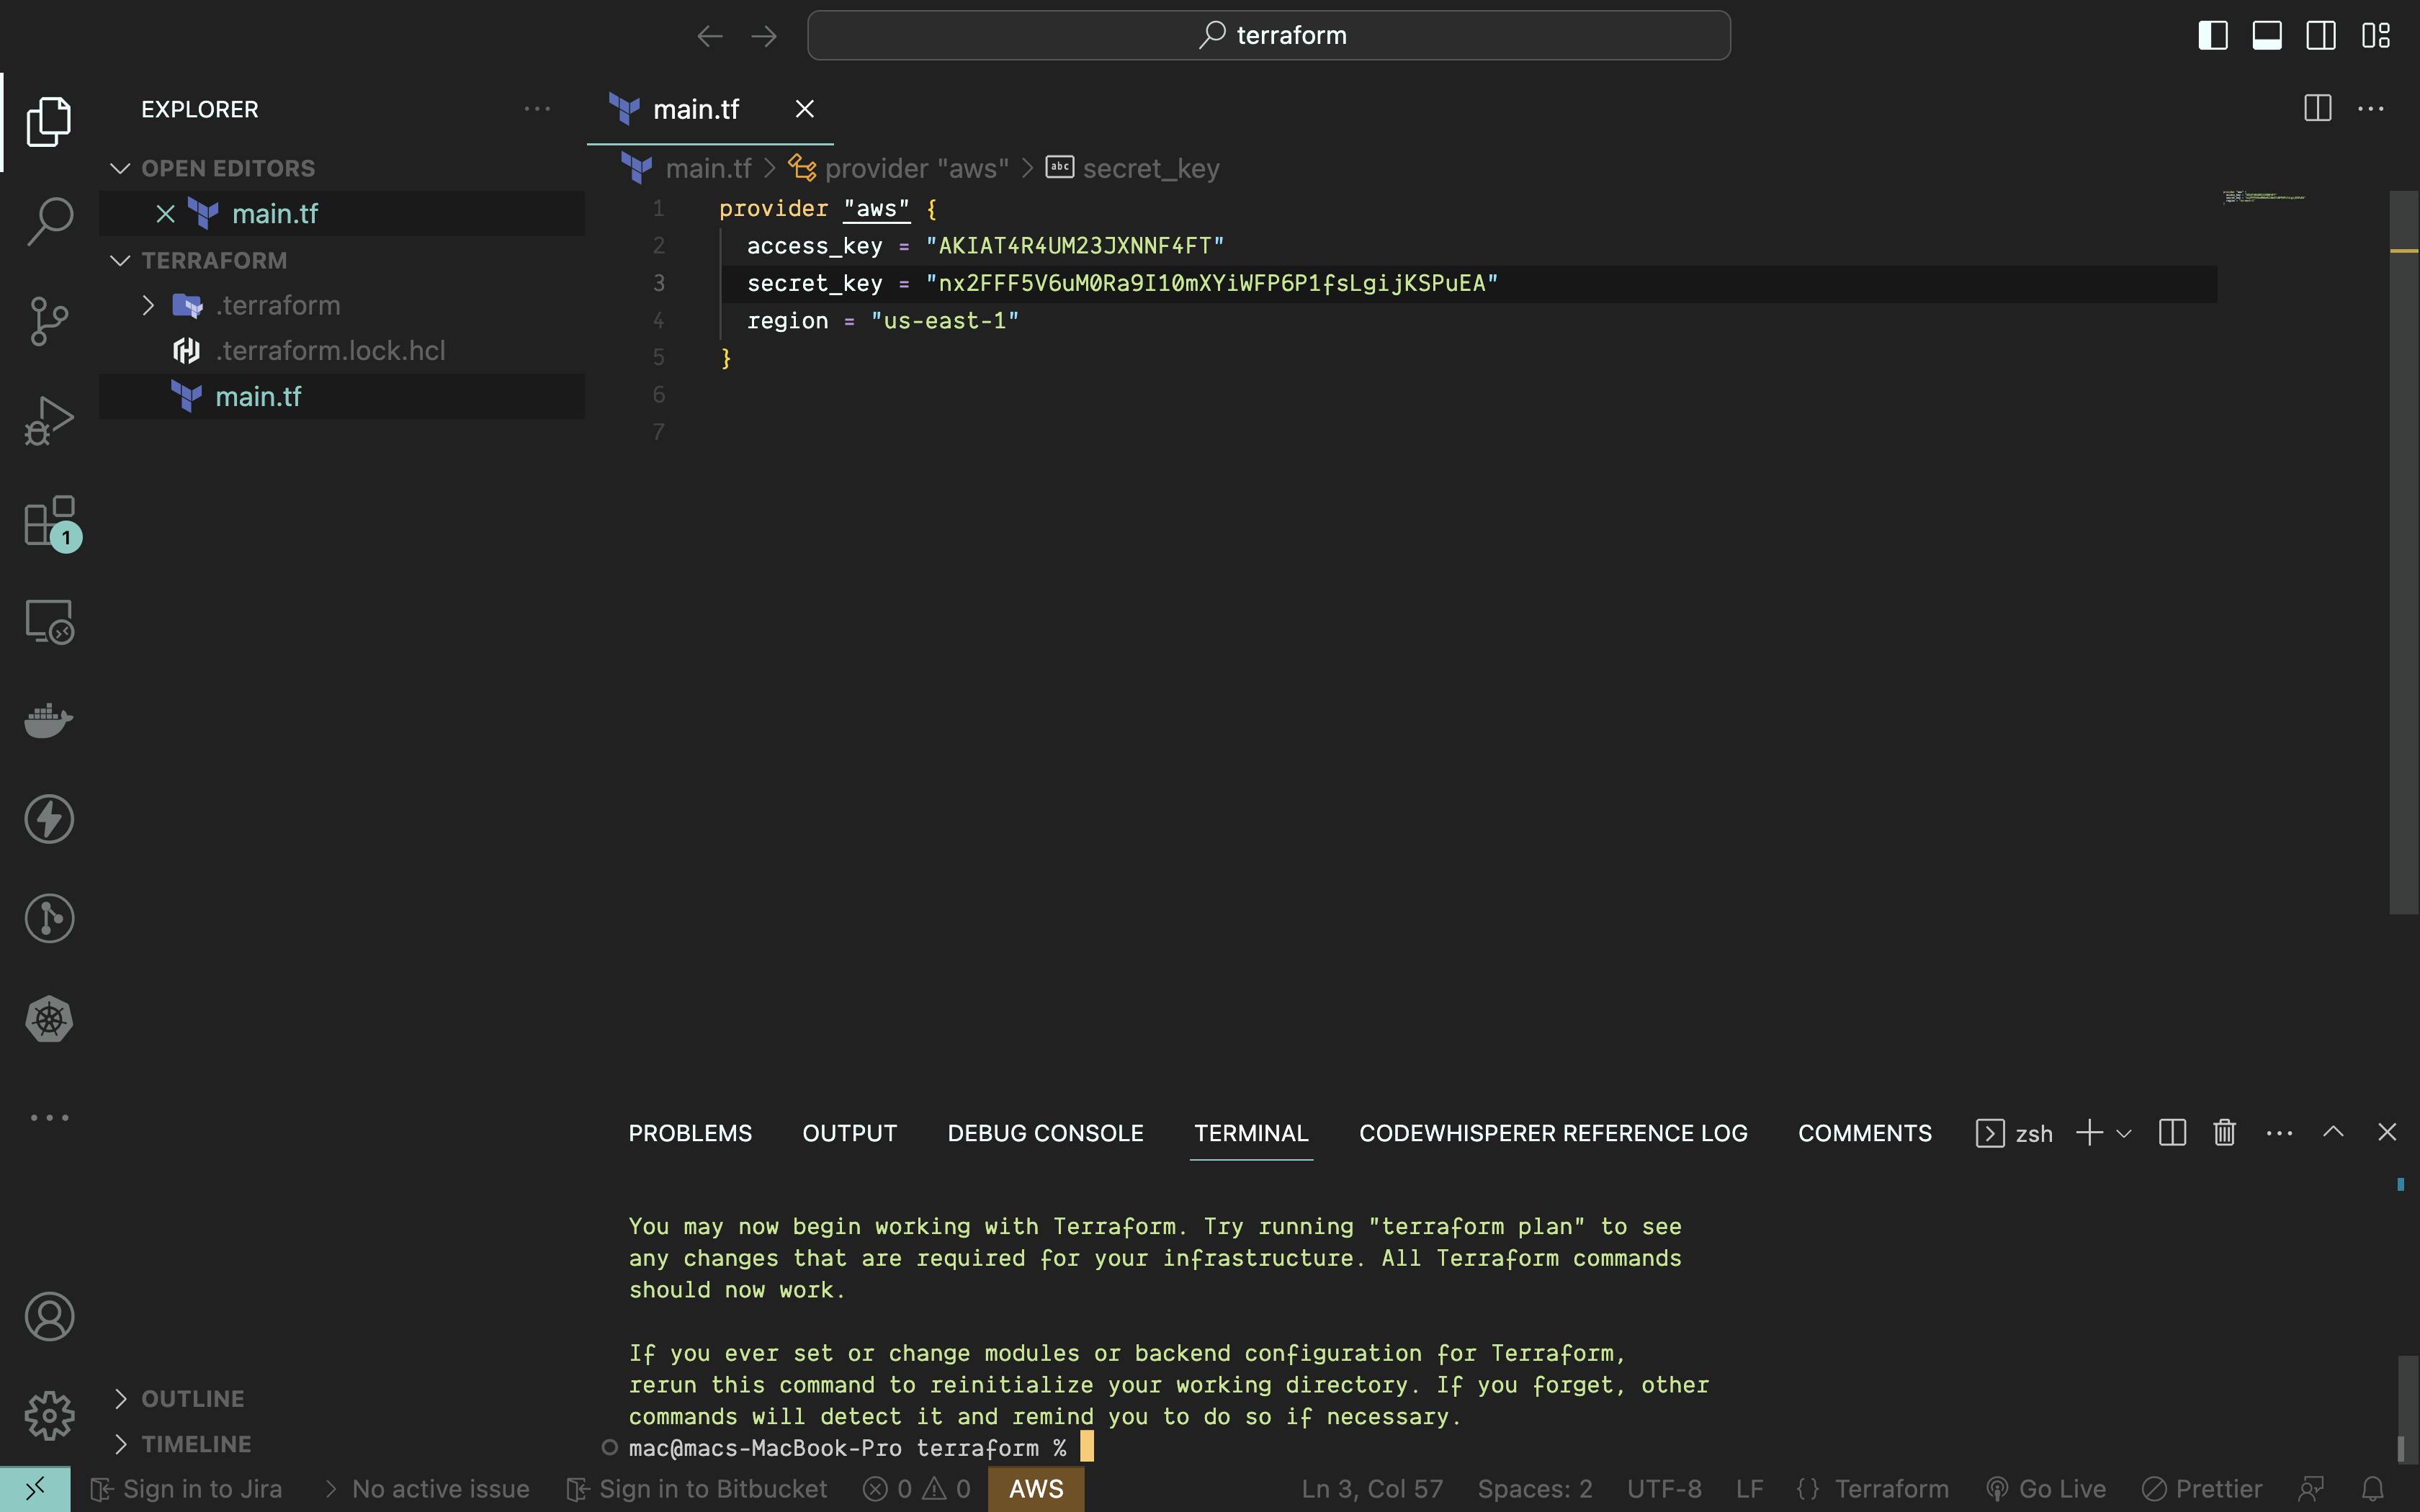
This should be done, after some time and, and we should see a new file and a folder
.terraform
.terraform.lock.hcl
These simply hold, the provider configuration, we downloaded and the state of our terraform configuration,
We won't need to touch or edit these files, there are for terraform and its uses it to basically keep things organized
Creating an ubuntu EC2 instance with terraform
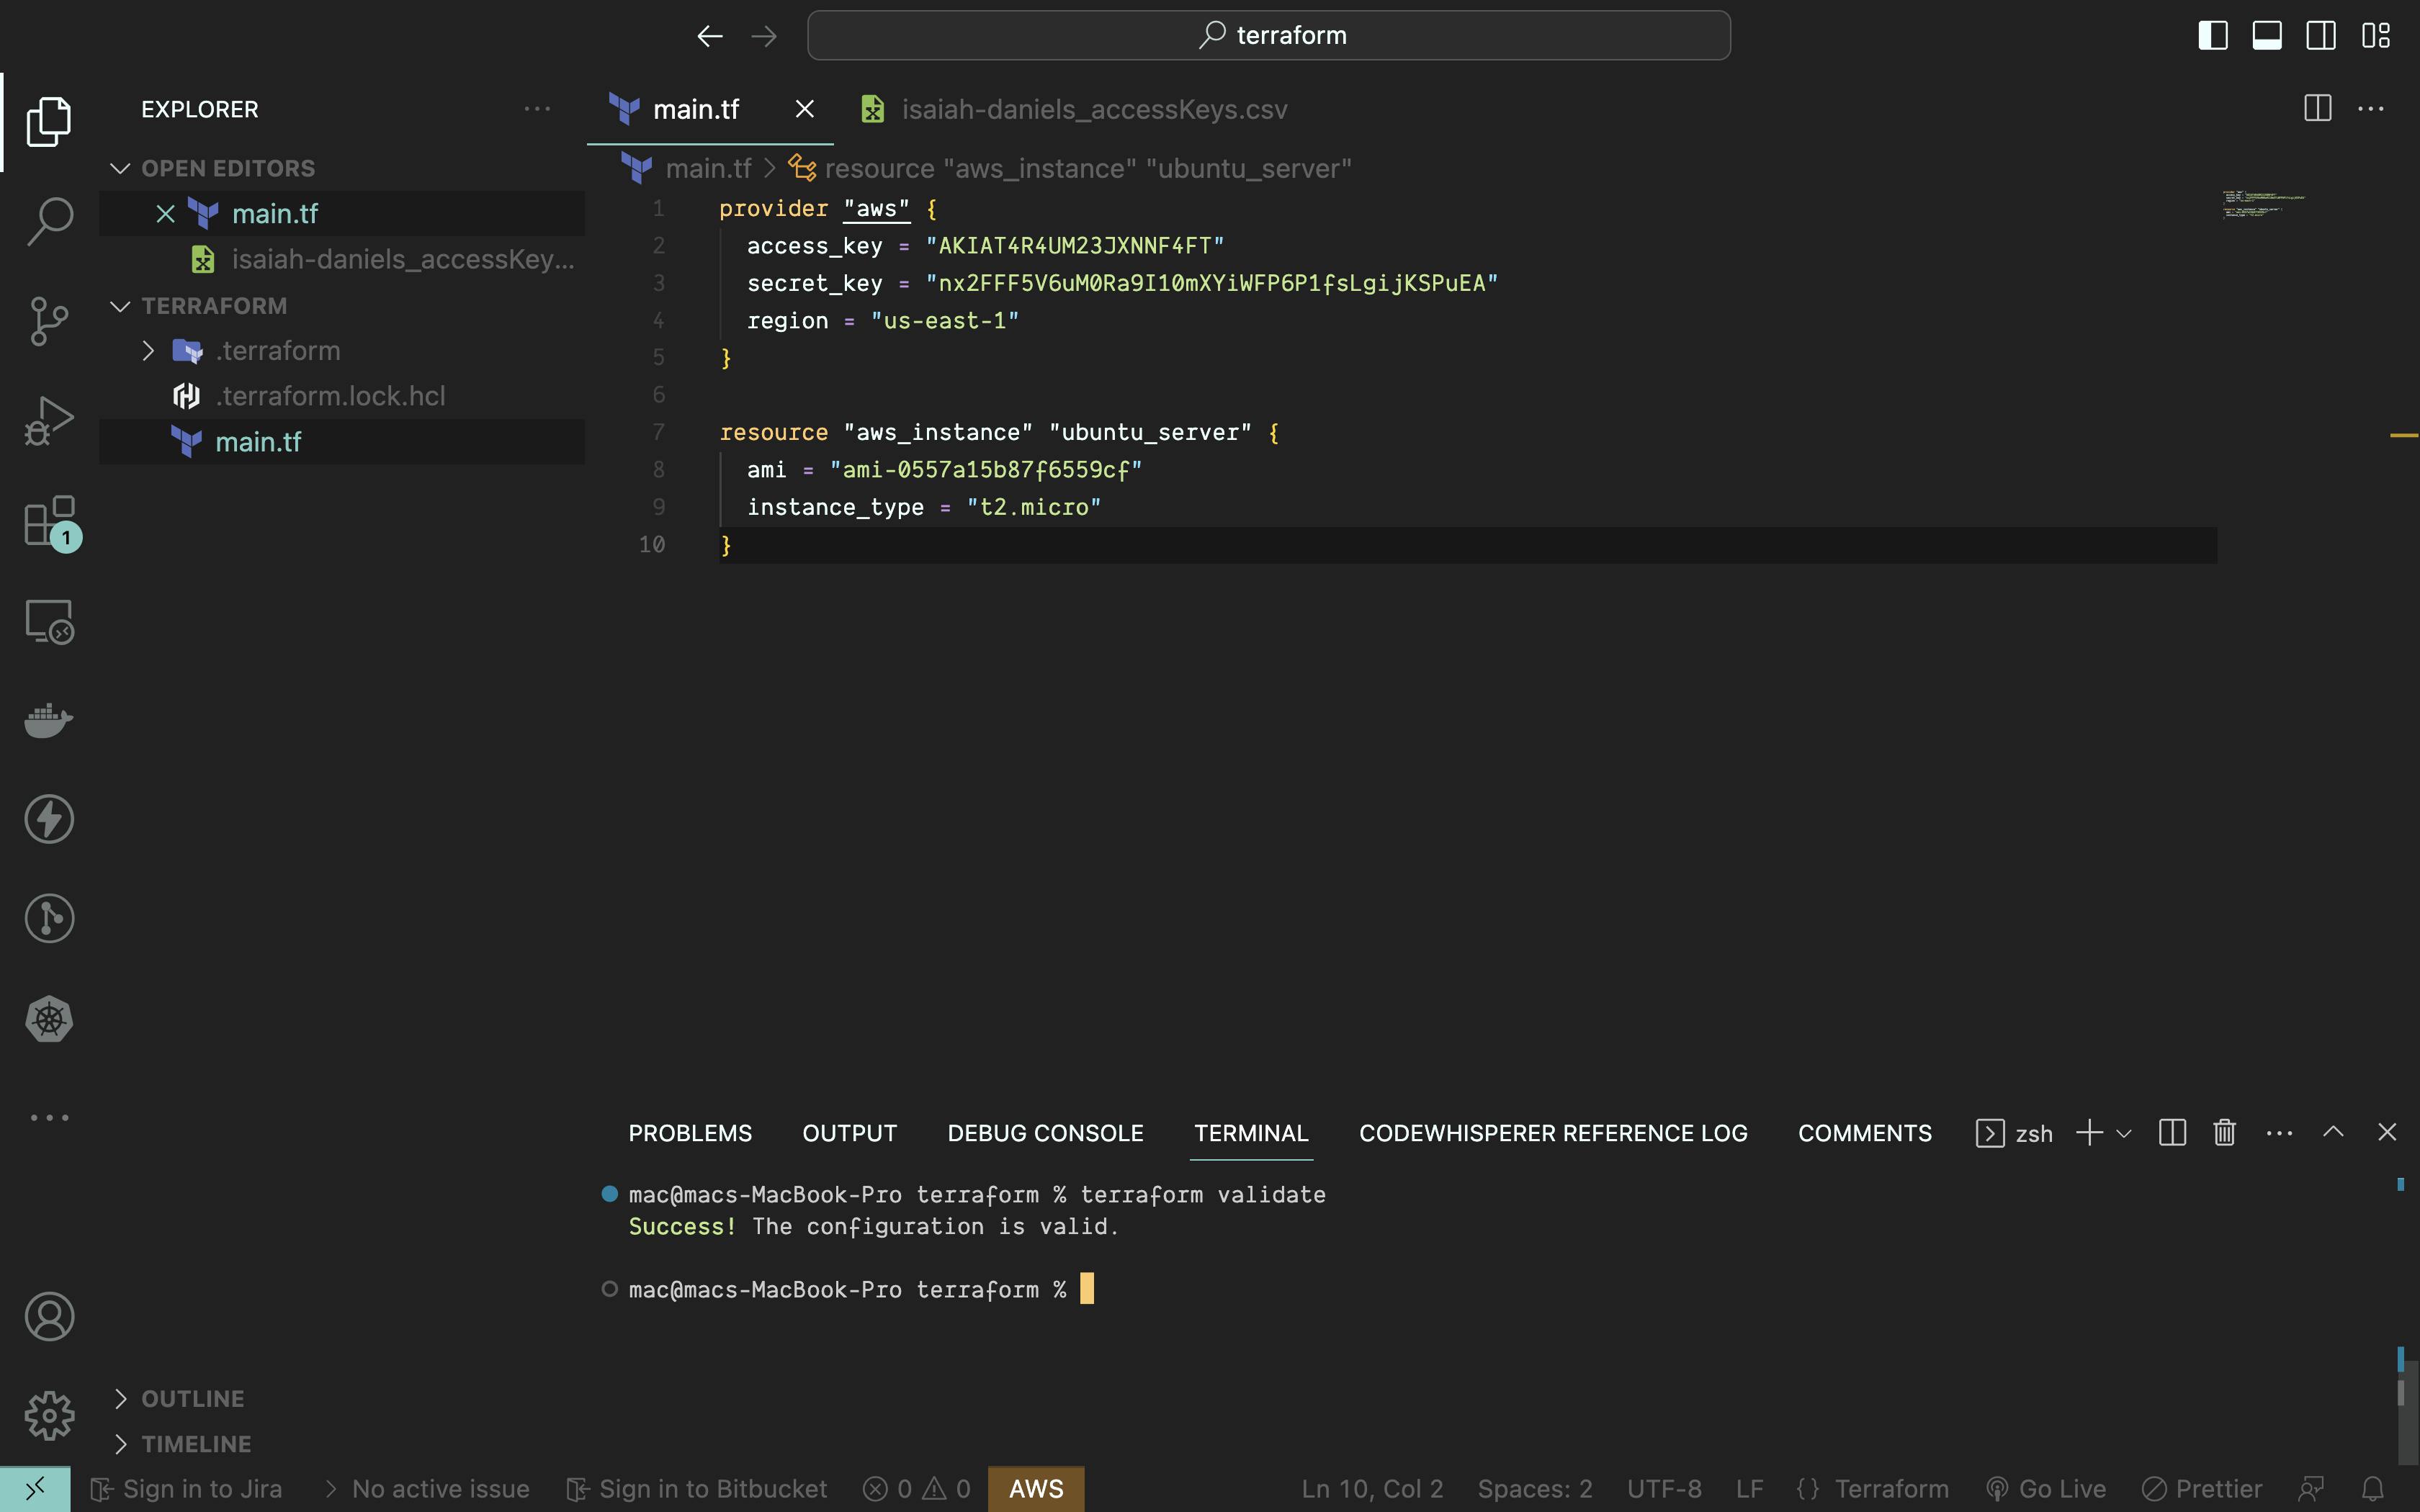
Now that we have initialized our instance with terraform, let's do a demo of creating an EC2 instance to work through the other commands, the syntax can be seen below
resource "aws_instance" "ubuntu_server" {
  ami = "ami-0557a15b87f6559cf"
  instance_type = "t2.micro"
}
Let's break this down a bit
we starting with resource key word, because we are trying to create a resource in AWS, this would be the same if we trying to create an s3 bucket
the next thing in quotes "ubuntu_server", is a terraform local name that we can refer to this resource in terraform later
Am selecting the ami from the AWS console

And am selecting the t2.micro type of instance to stay within the free tier
Next lets check if our terraform configuration is correct with terraform validate
Terraform validate
This command just makes sure, we have a configuration file valid to how terraform wants it, this is not required, but it provides a good check
Next, we run a plan to see the Infrature terraform would be creating for us
terraform validate
Terraform Plan
Terraform plans show the resources terraform would be creating from our configuration

Most resources would be known after an apply
terrform apply
Terraform apply
Terraform apply applies the change from our plan
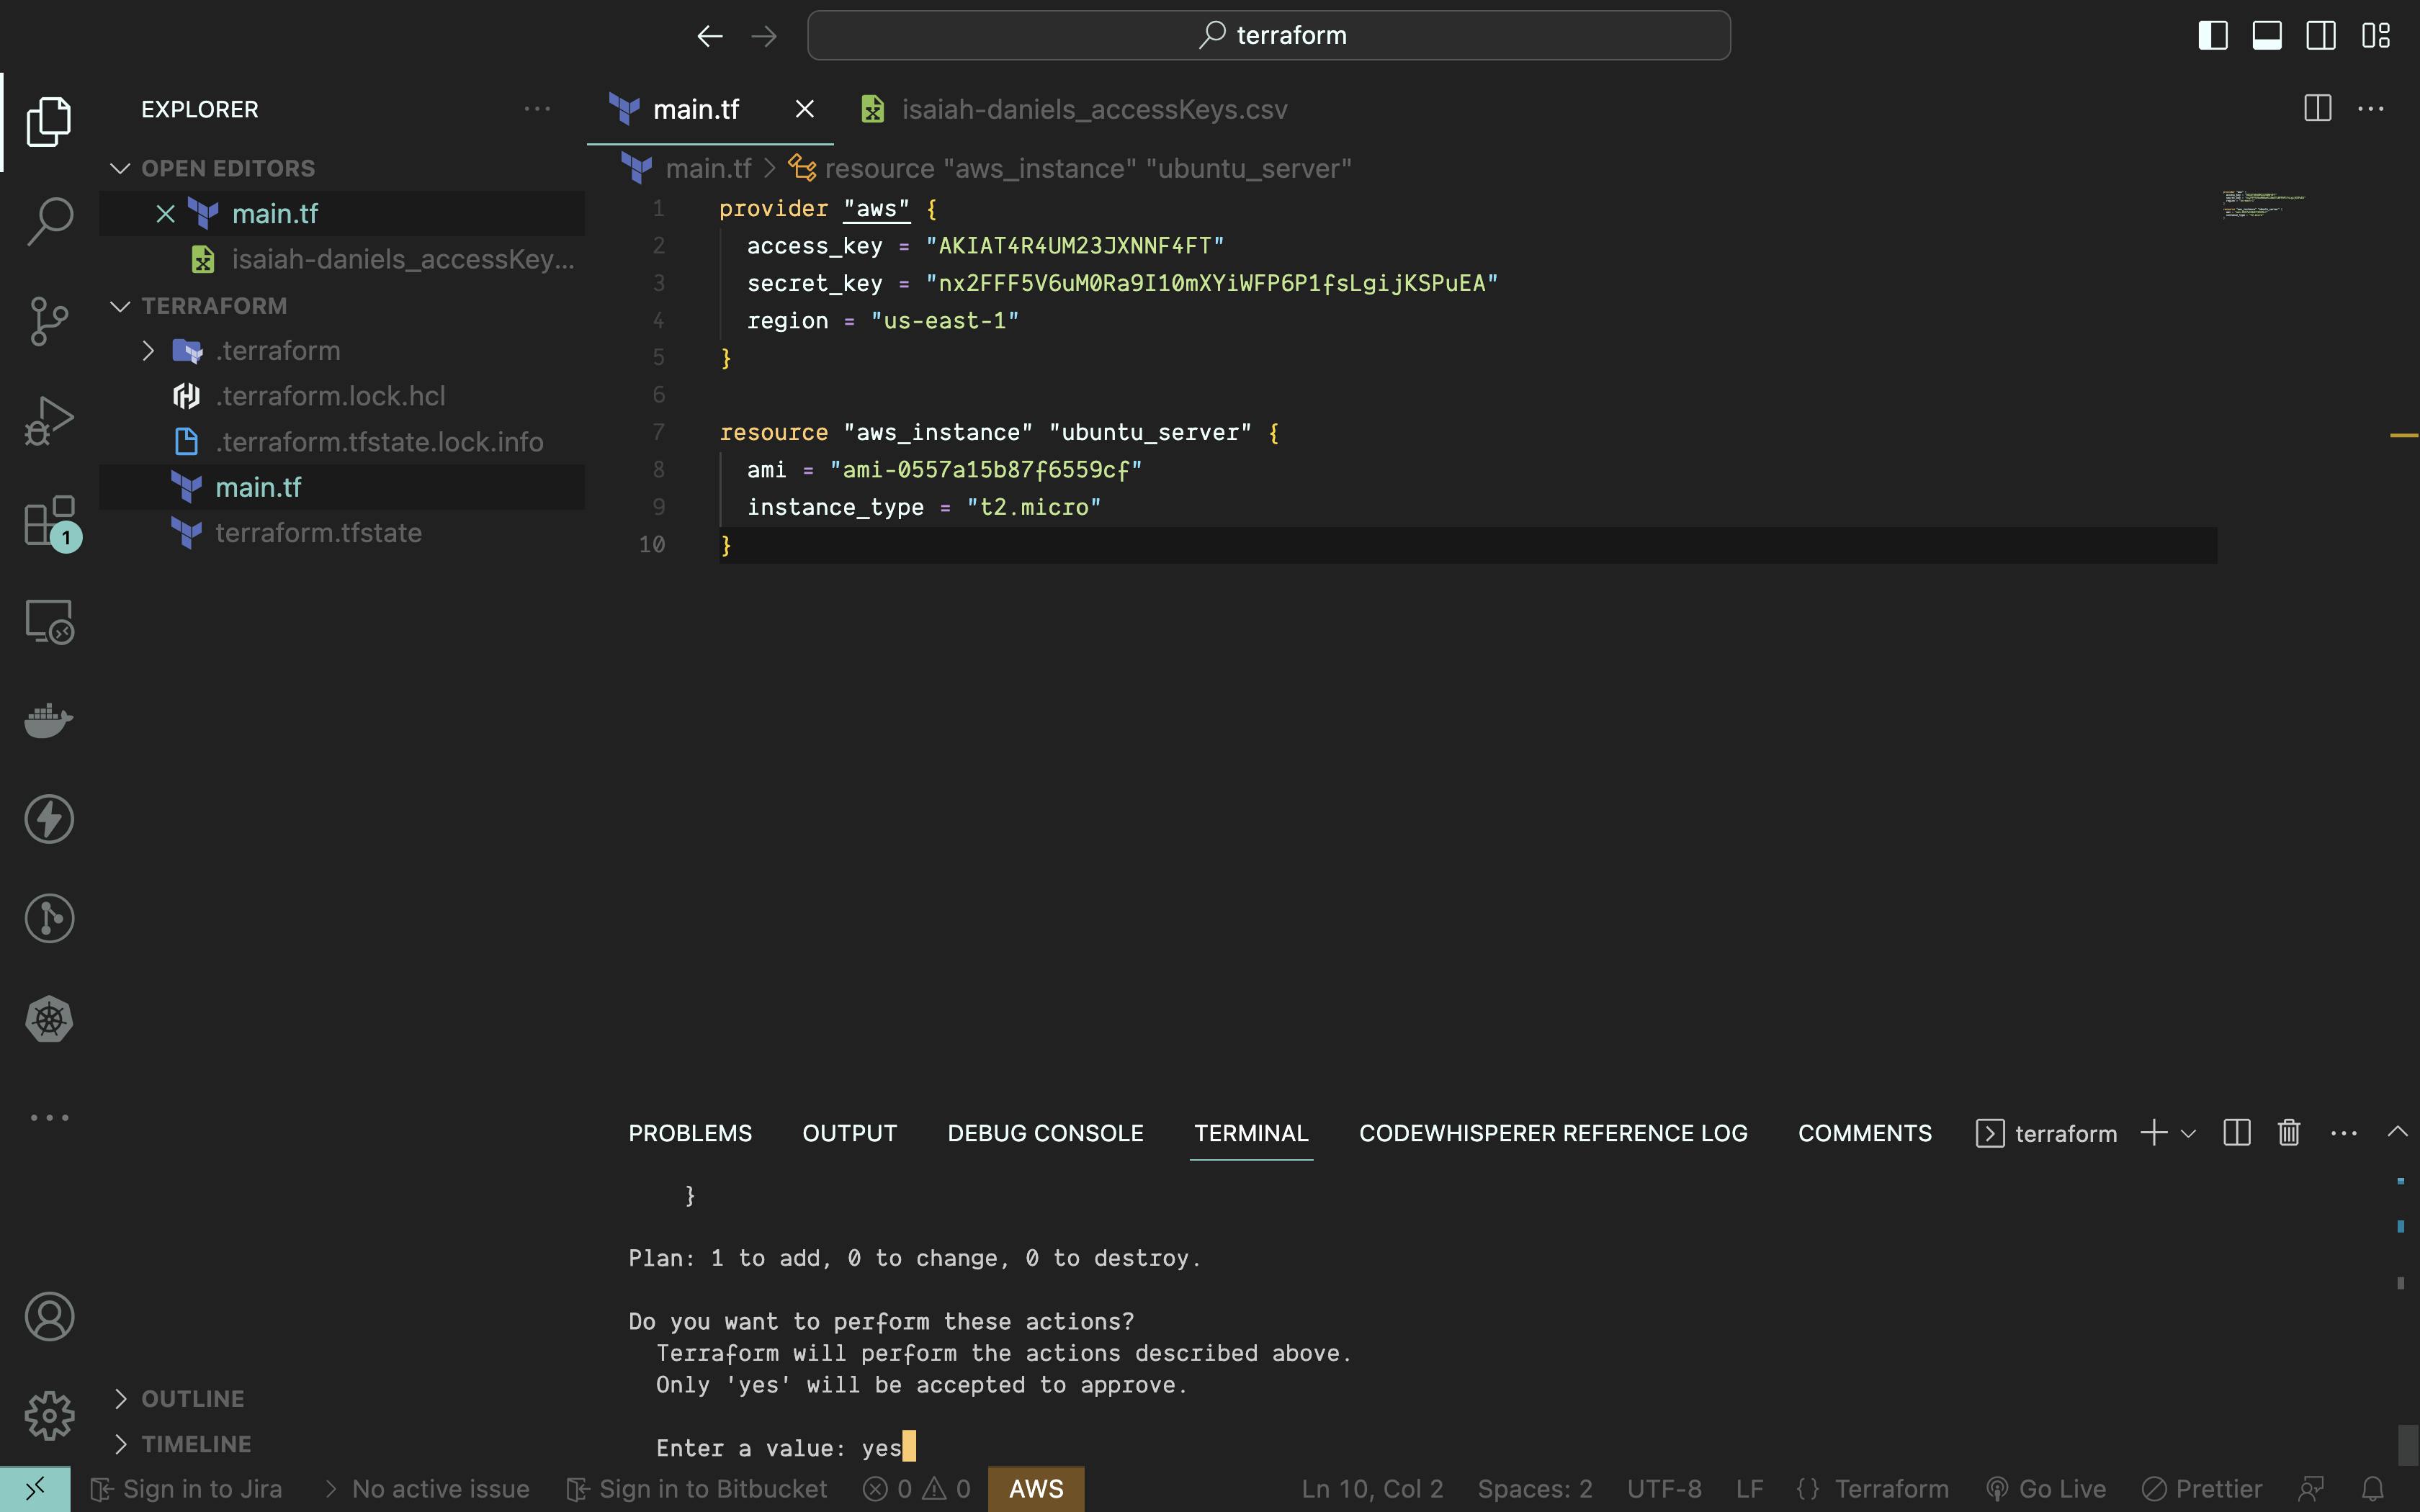
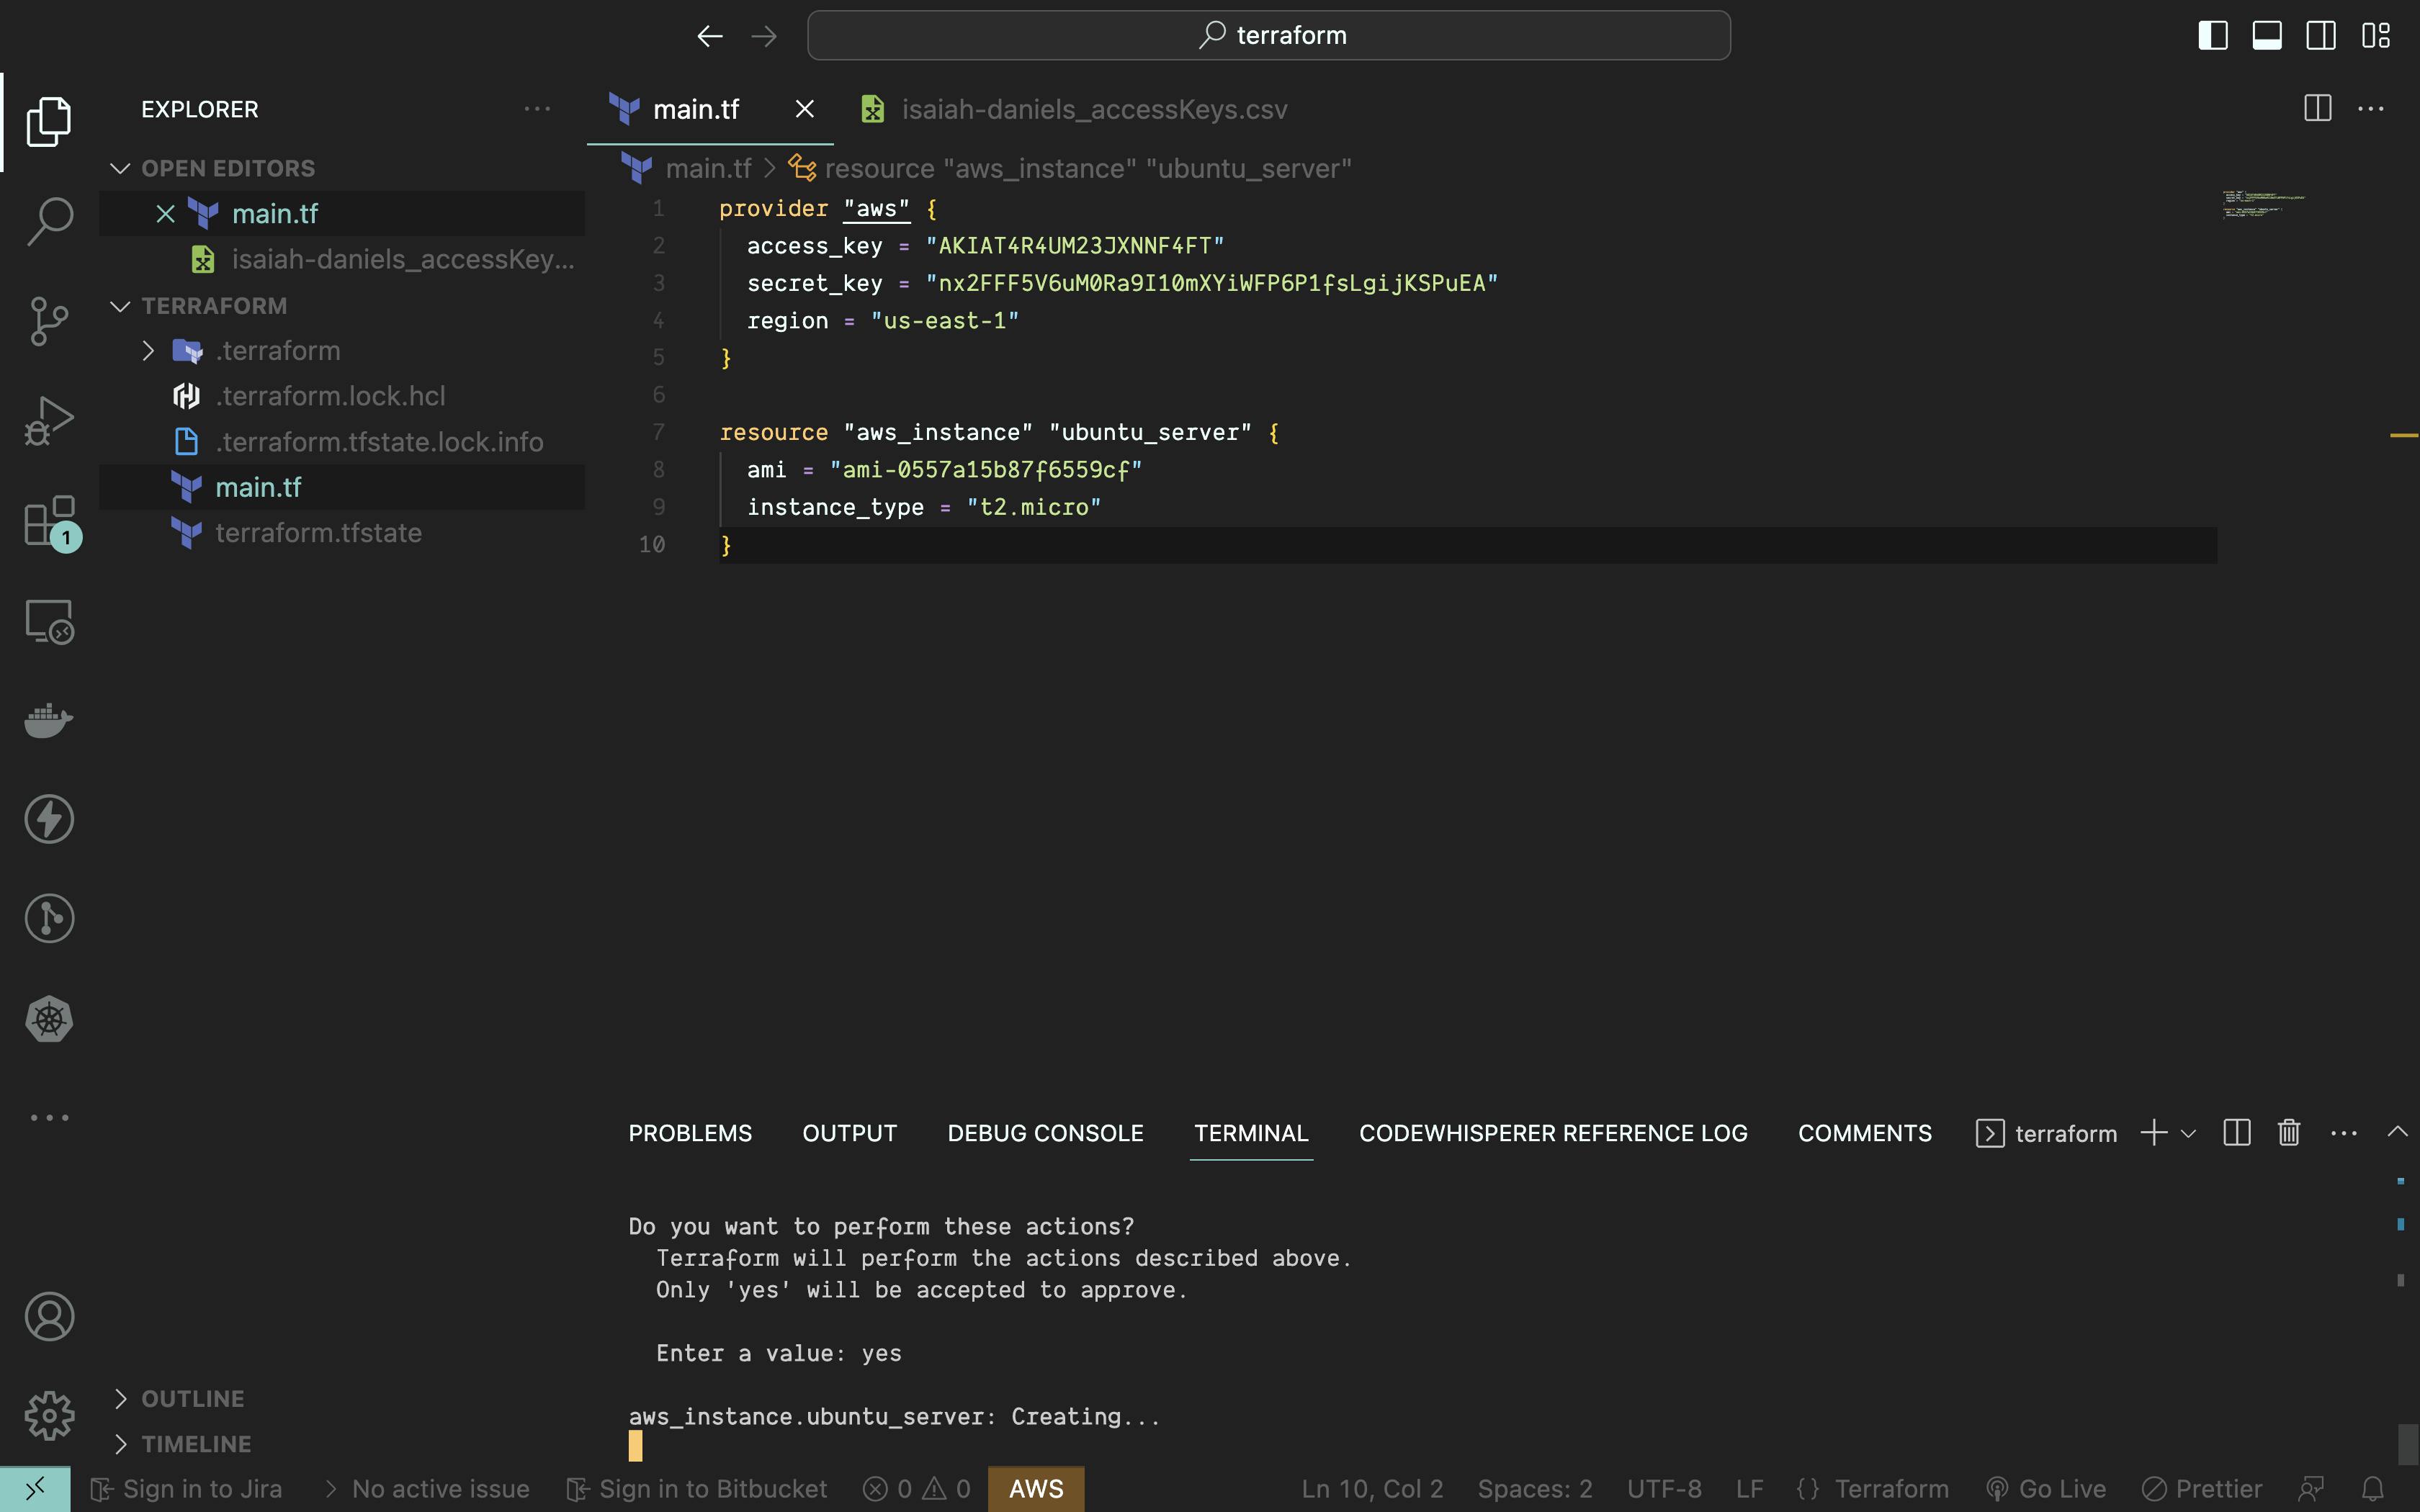
this would begin to create an instance for us...
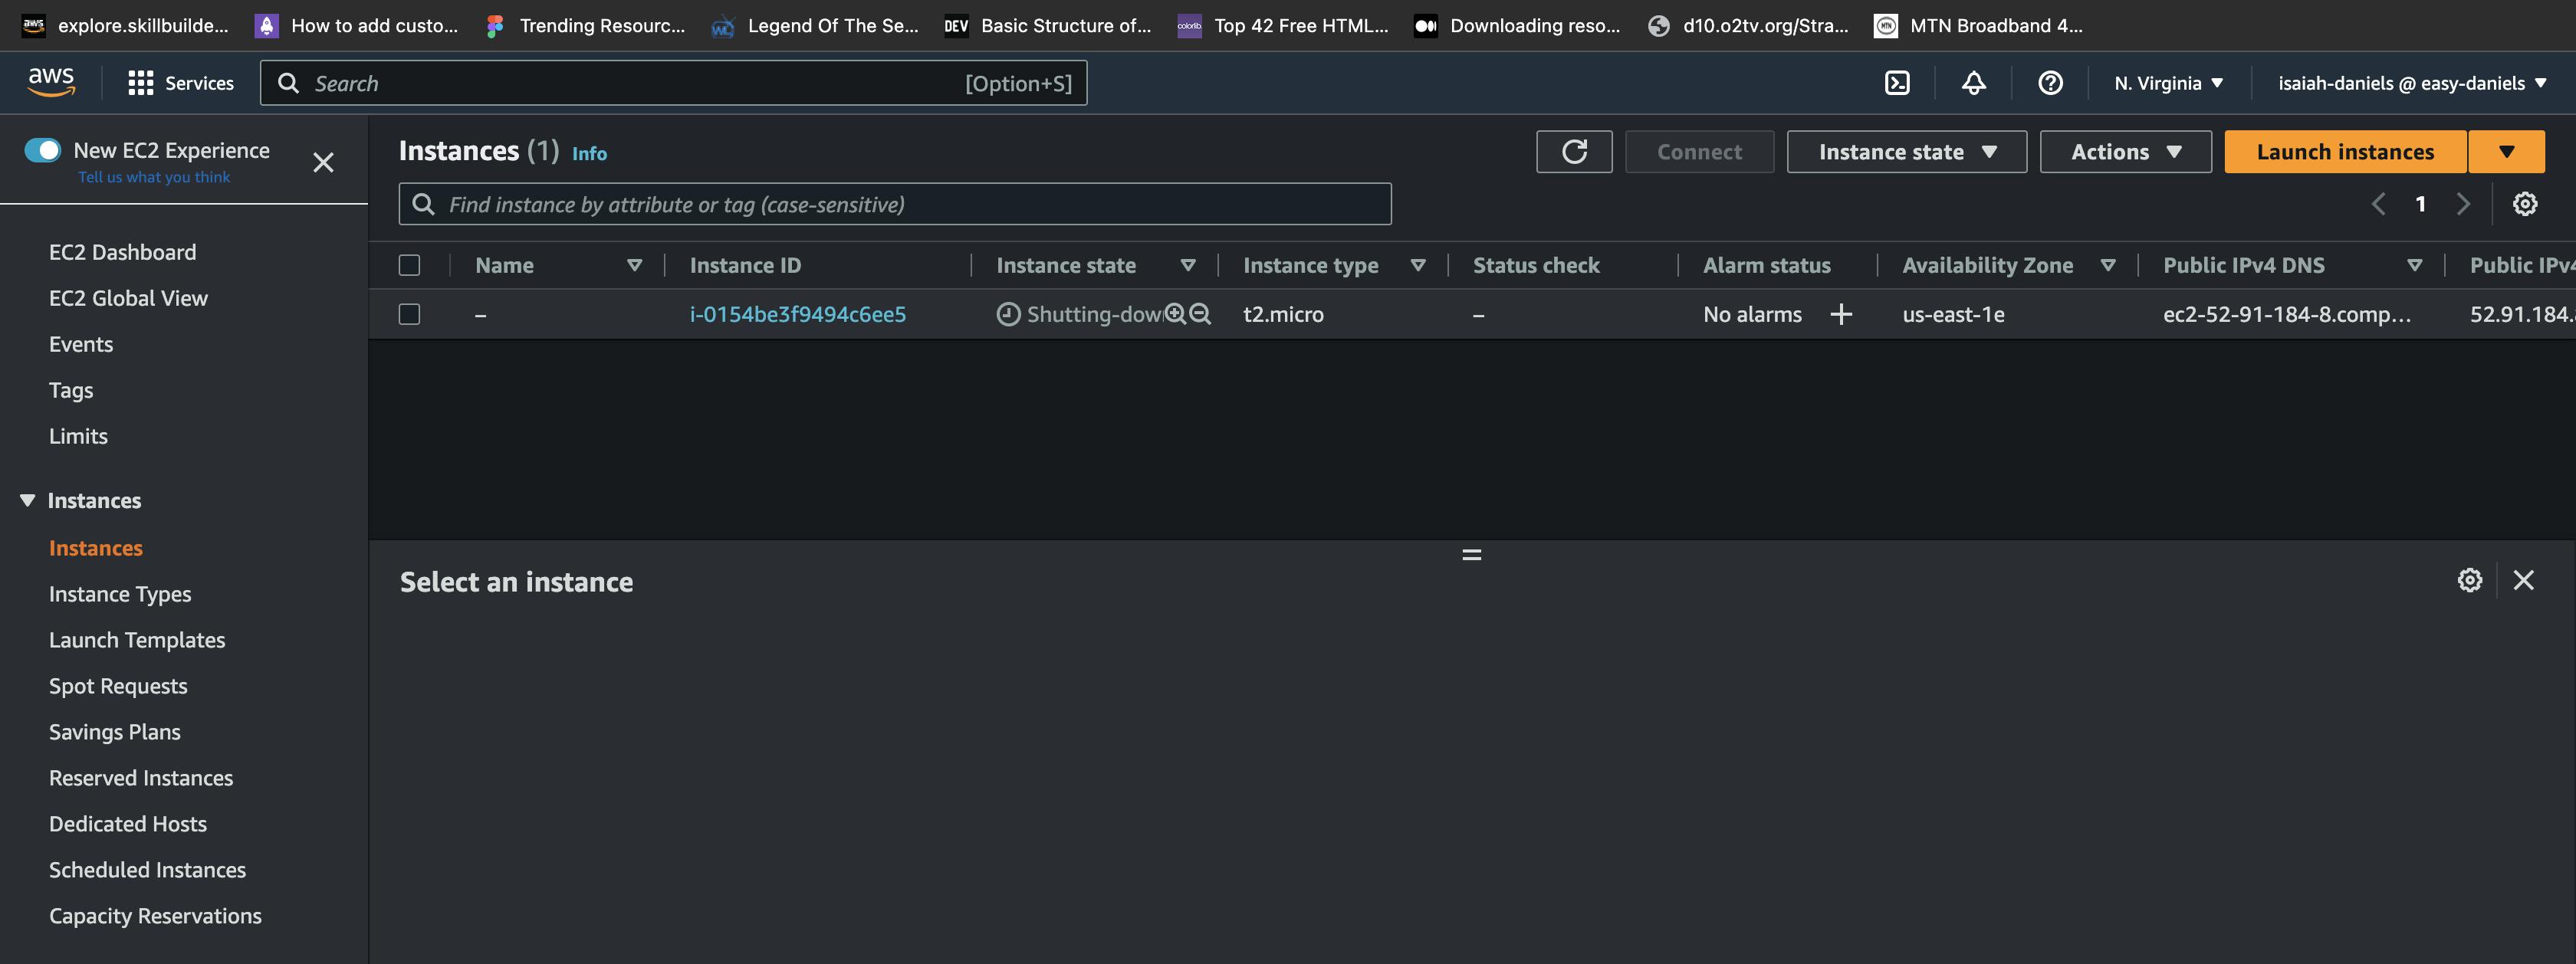
when its done, log in to the console and check your instances, you will see an EC2 instance created for us
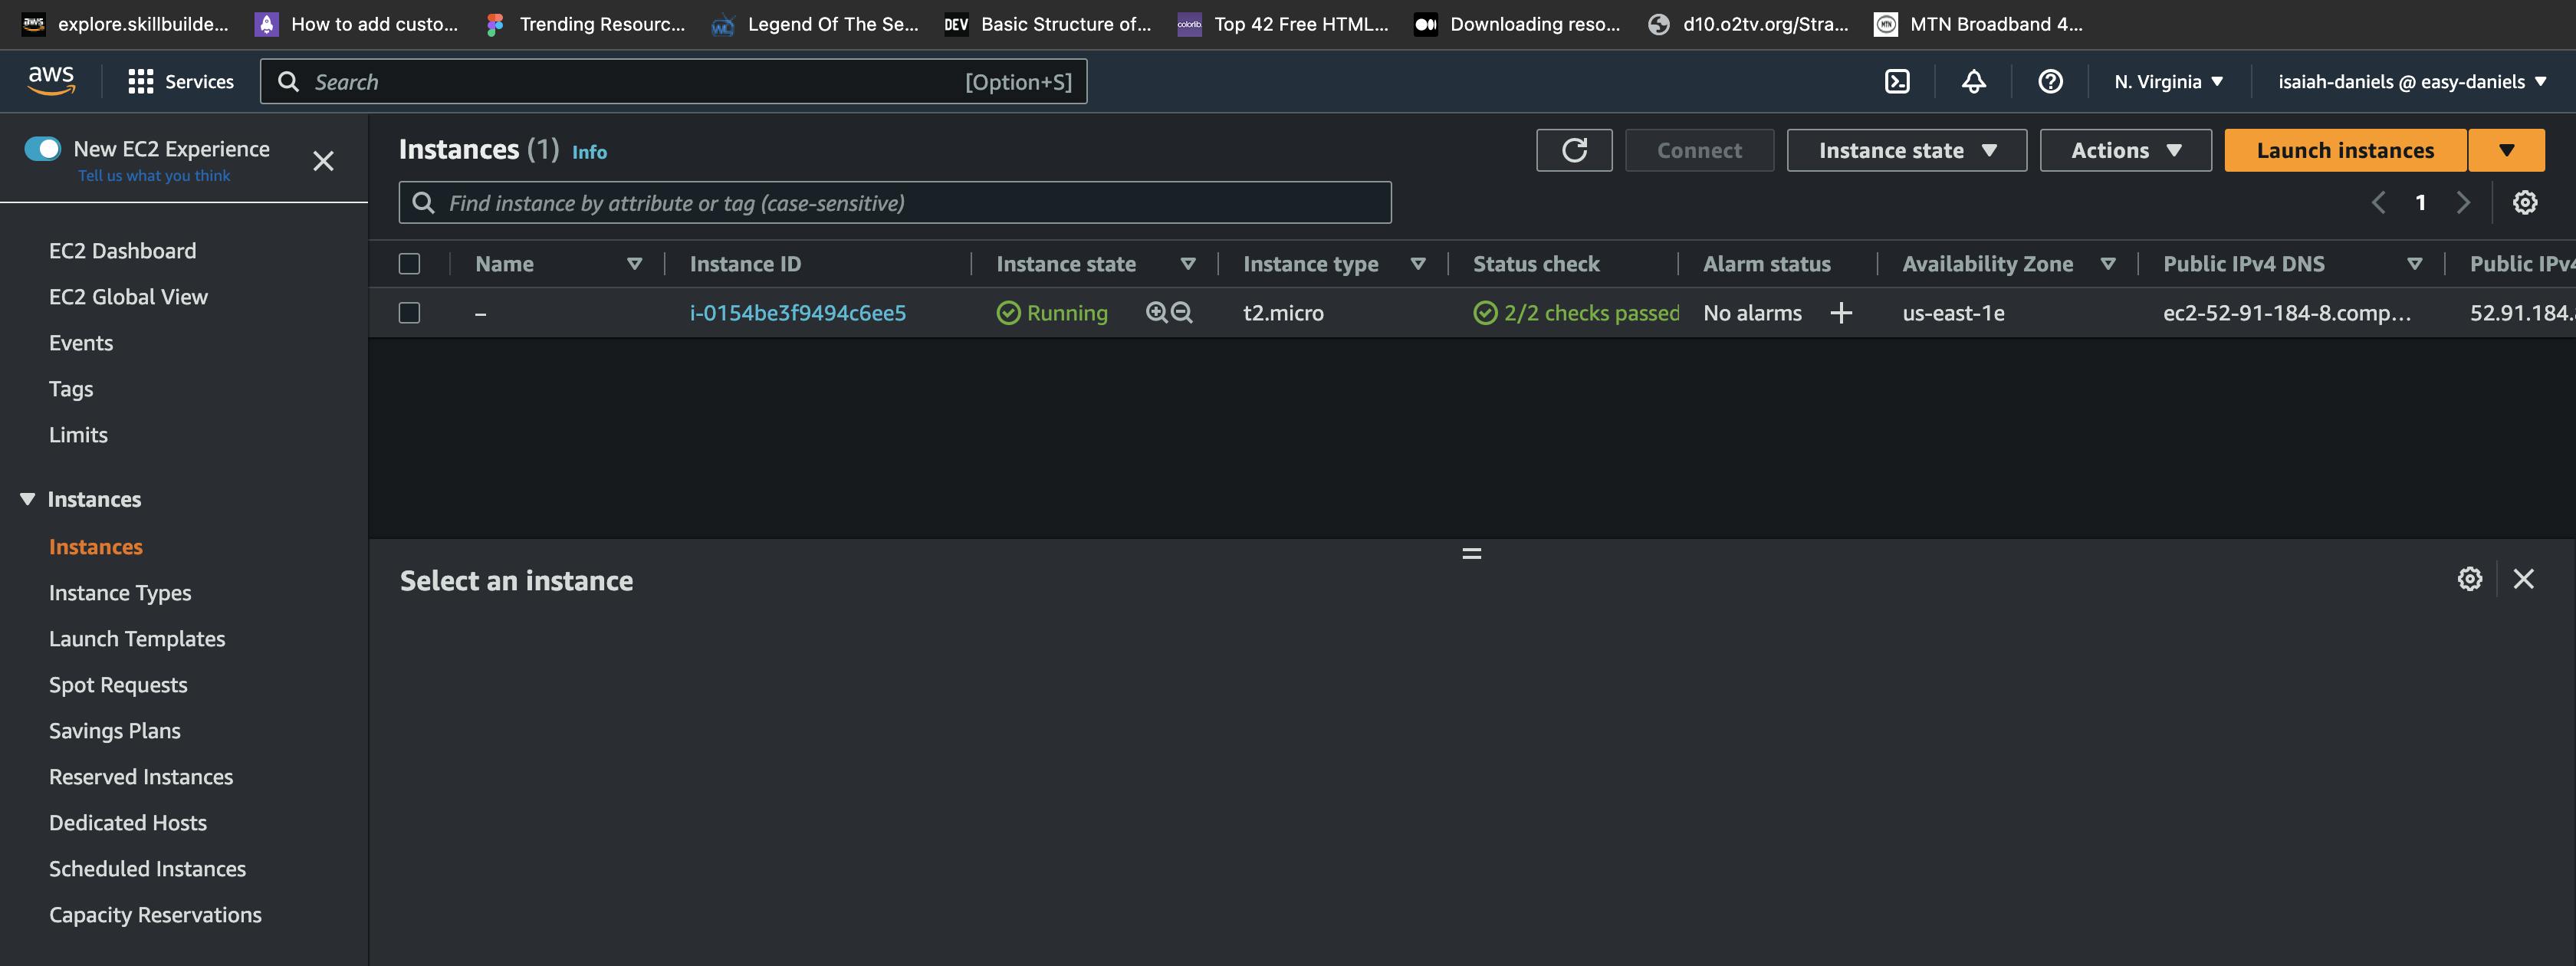
IAC is wonderful isn't it 😊......
Finally, lets Destroy our infrastructure, with terraform destroy
Terraform destroy
terraform destroy
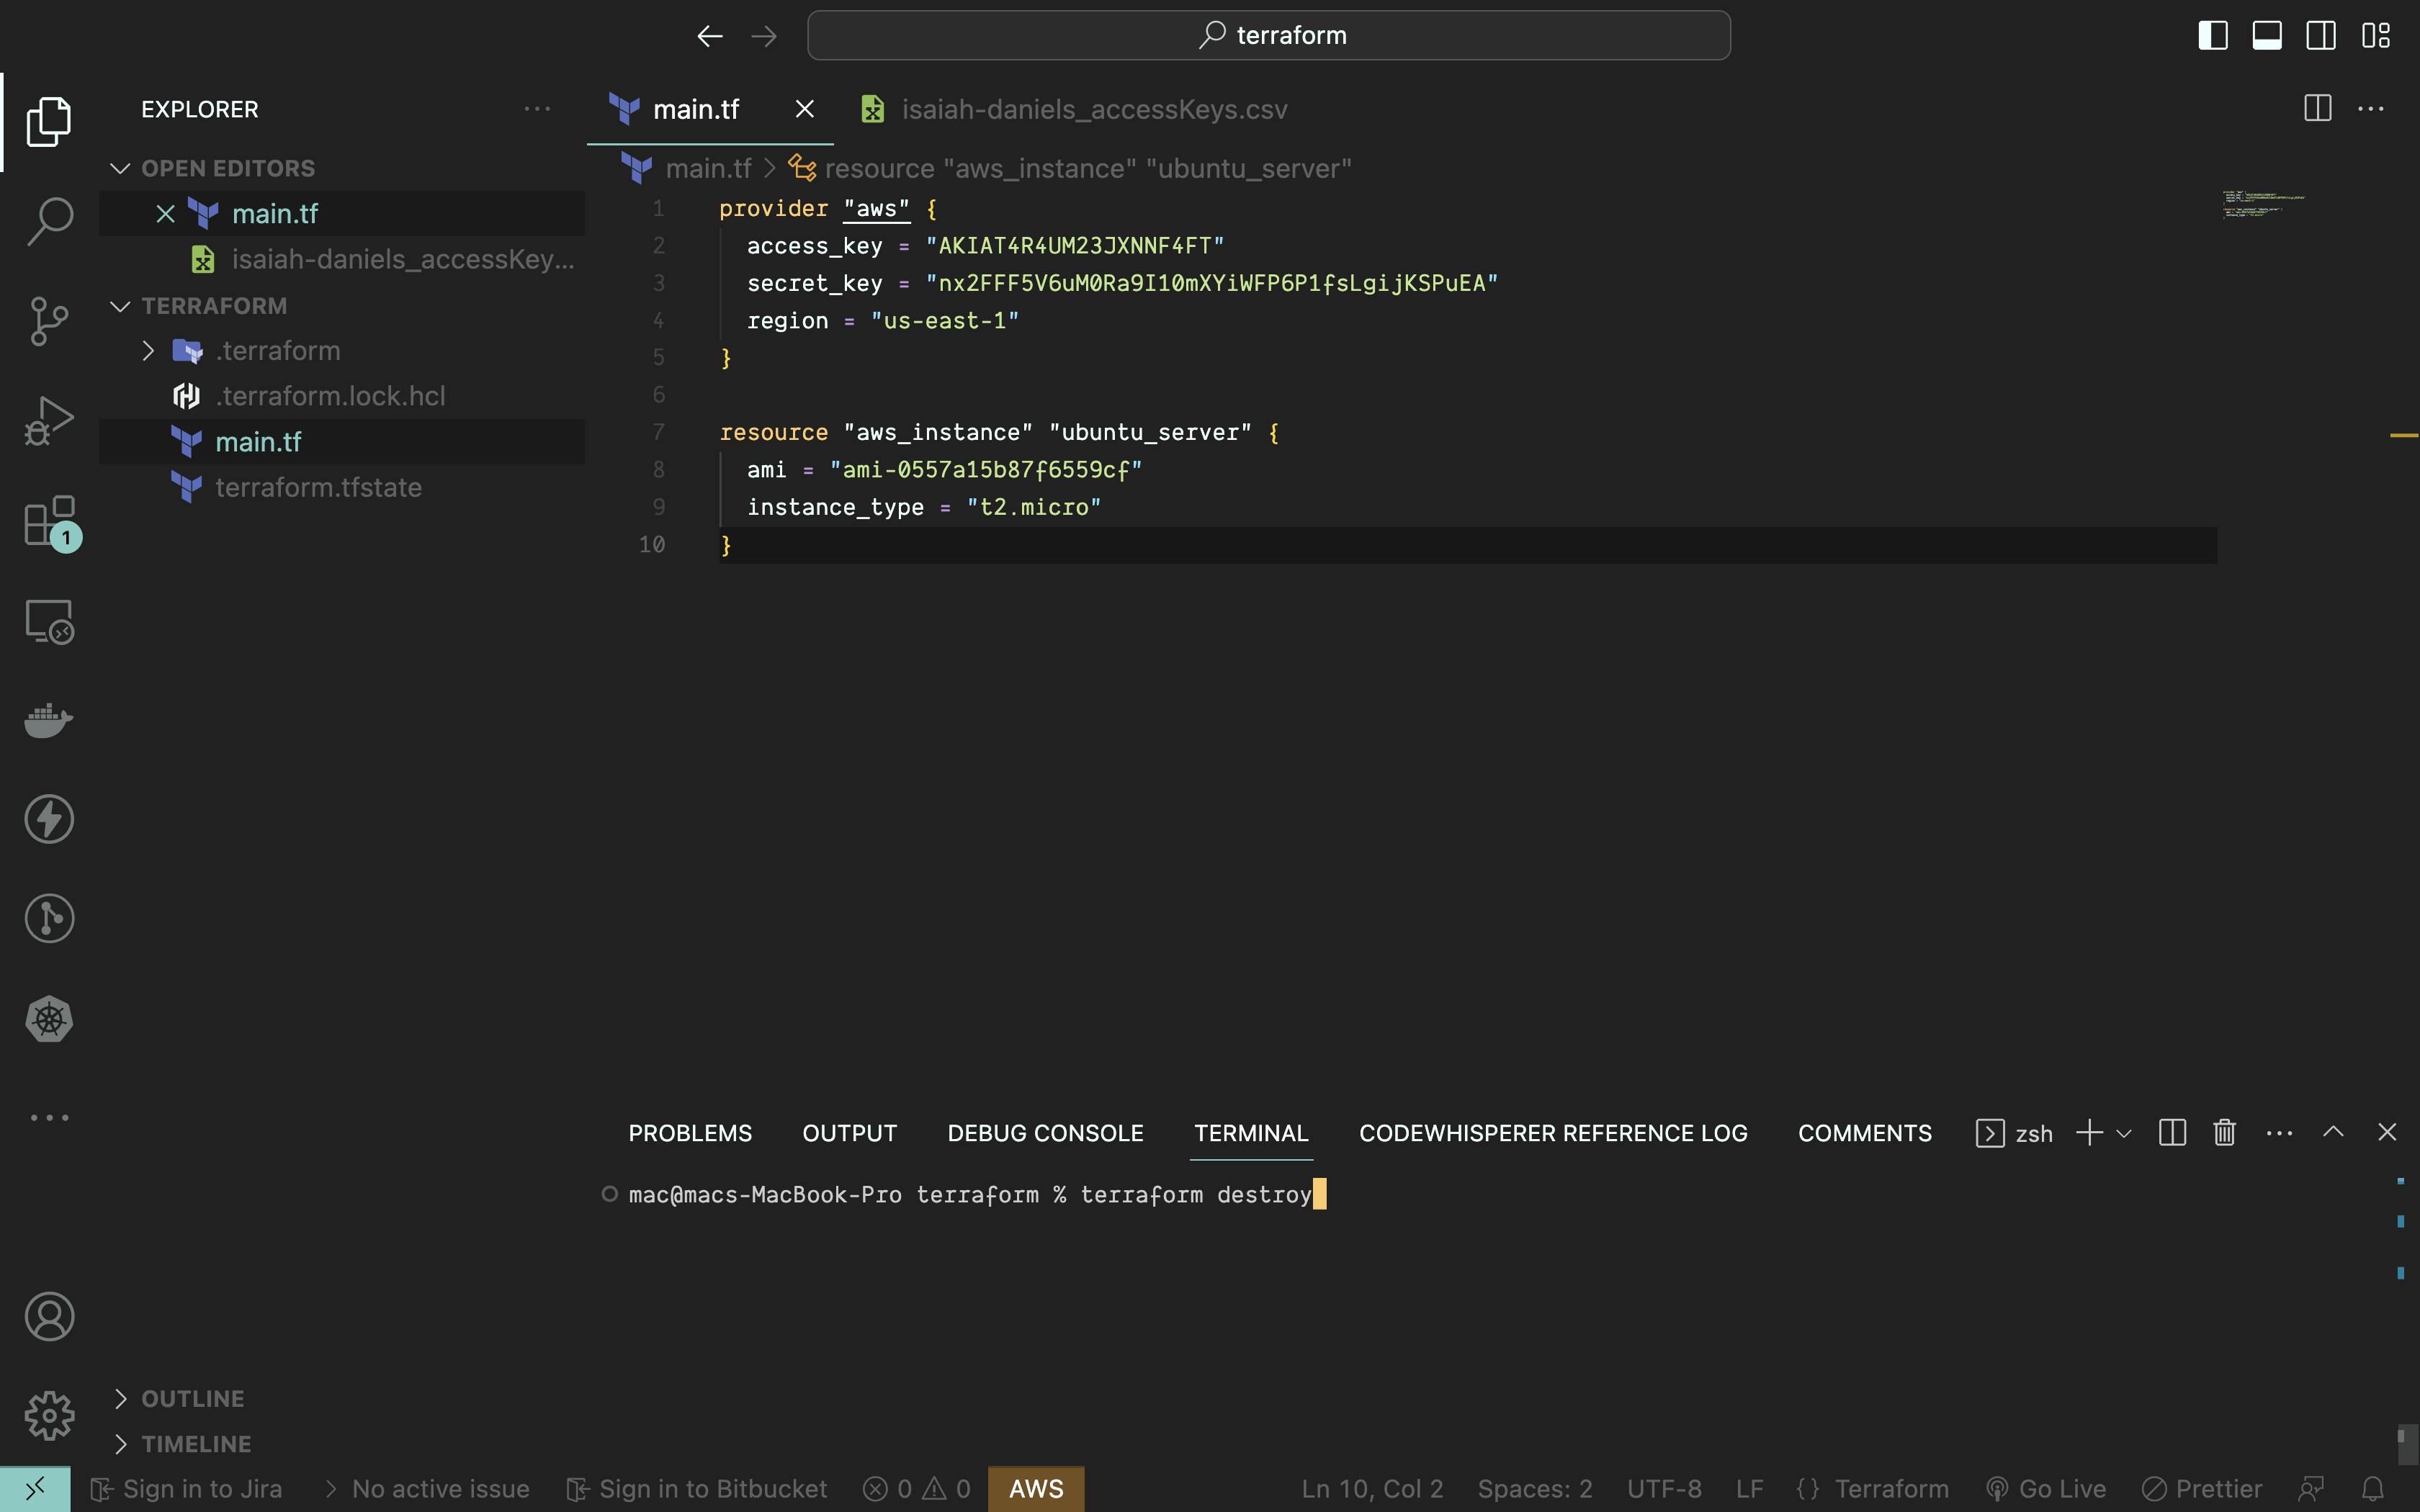
just confirm a yes, and we should see our instance getting shut down
That's it for Part three
Once again, you can reach me on Linkedin, thanks for your time